EASY DIY POM-POM PILLOW TUTORIAL
Hello friends! So I just finished up a very easy pom-pom pillow that adds just a touch of pizzazz to our little home.First off, I need to mention that I'm the world's worst at following the rules when it comes to sewing...I don't have a whole lot of patience for completing projects that take more than 5 minutes. The quicker I finish, the better! So all of you pros at sewing...be forewarned! What you'll need:
fabric
pom poms
zipper
pins
sewing machine
scissors
seam ripper
pillow insert (preferably down)
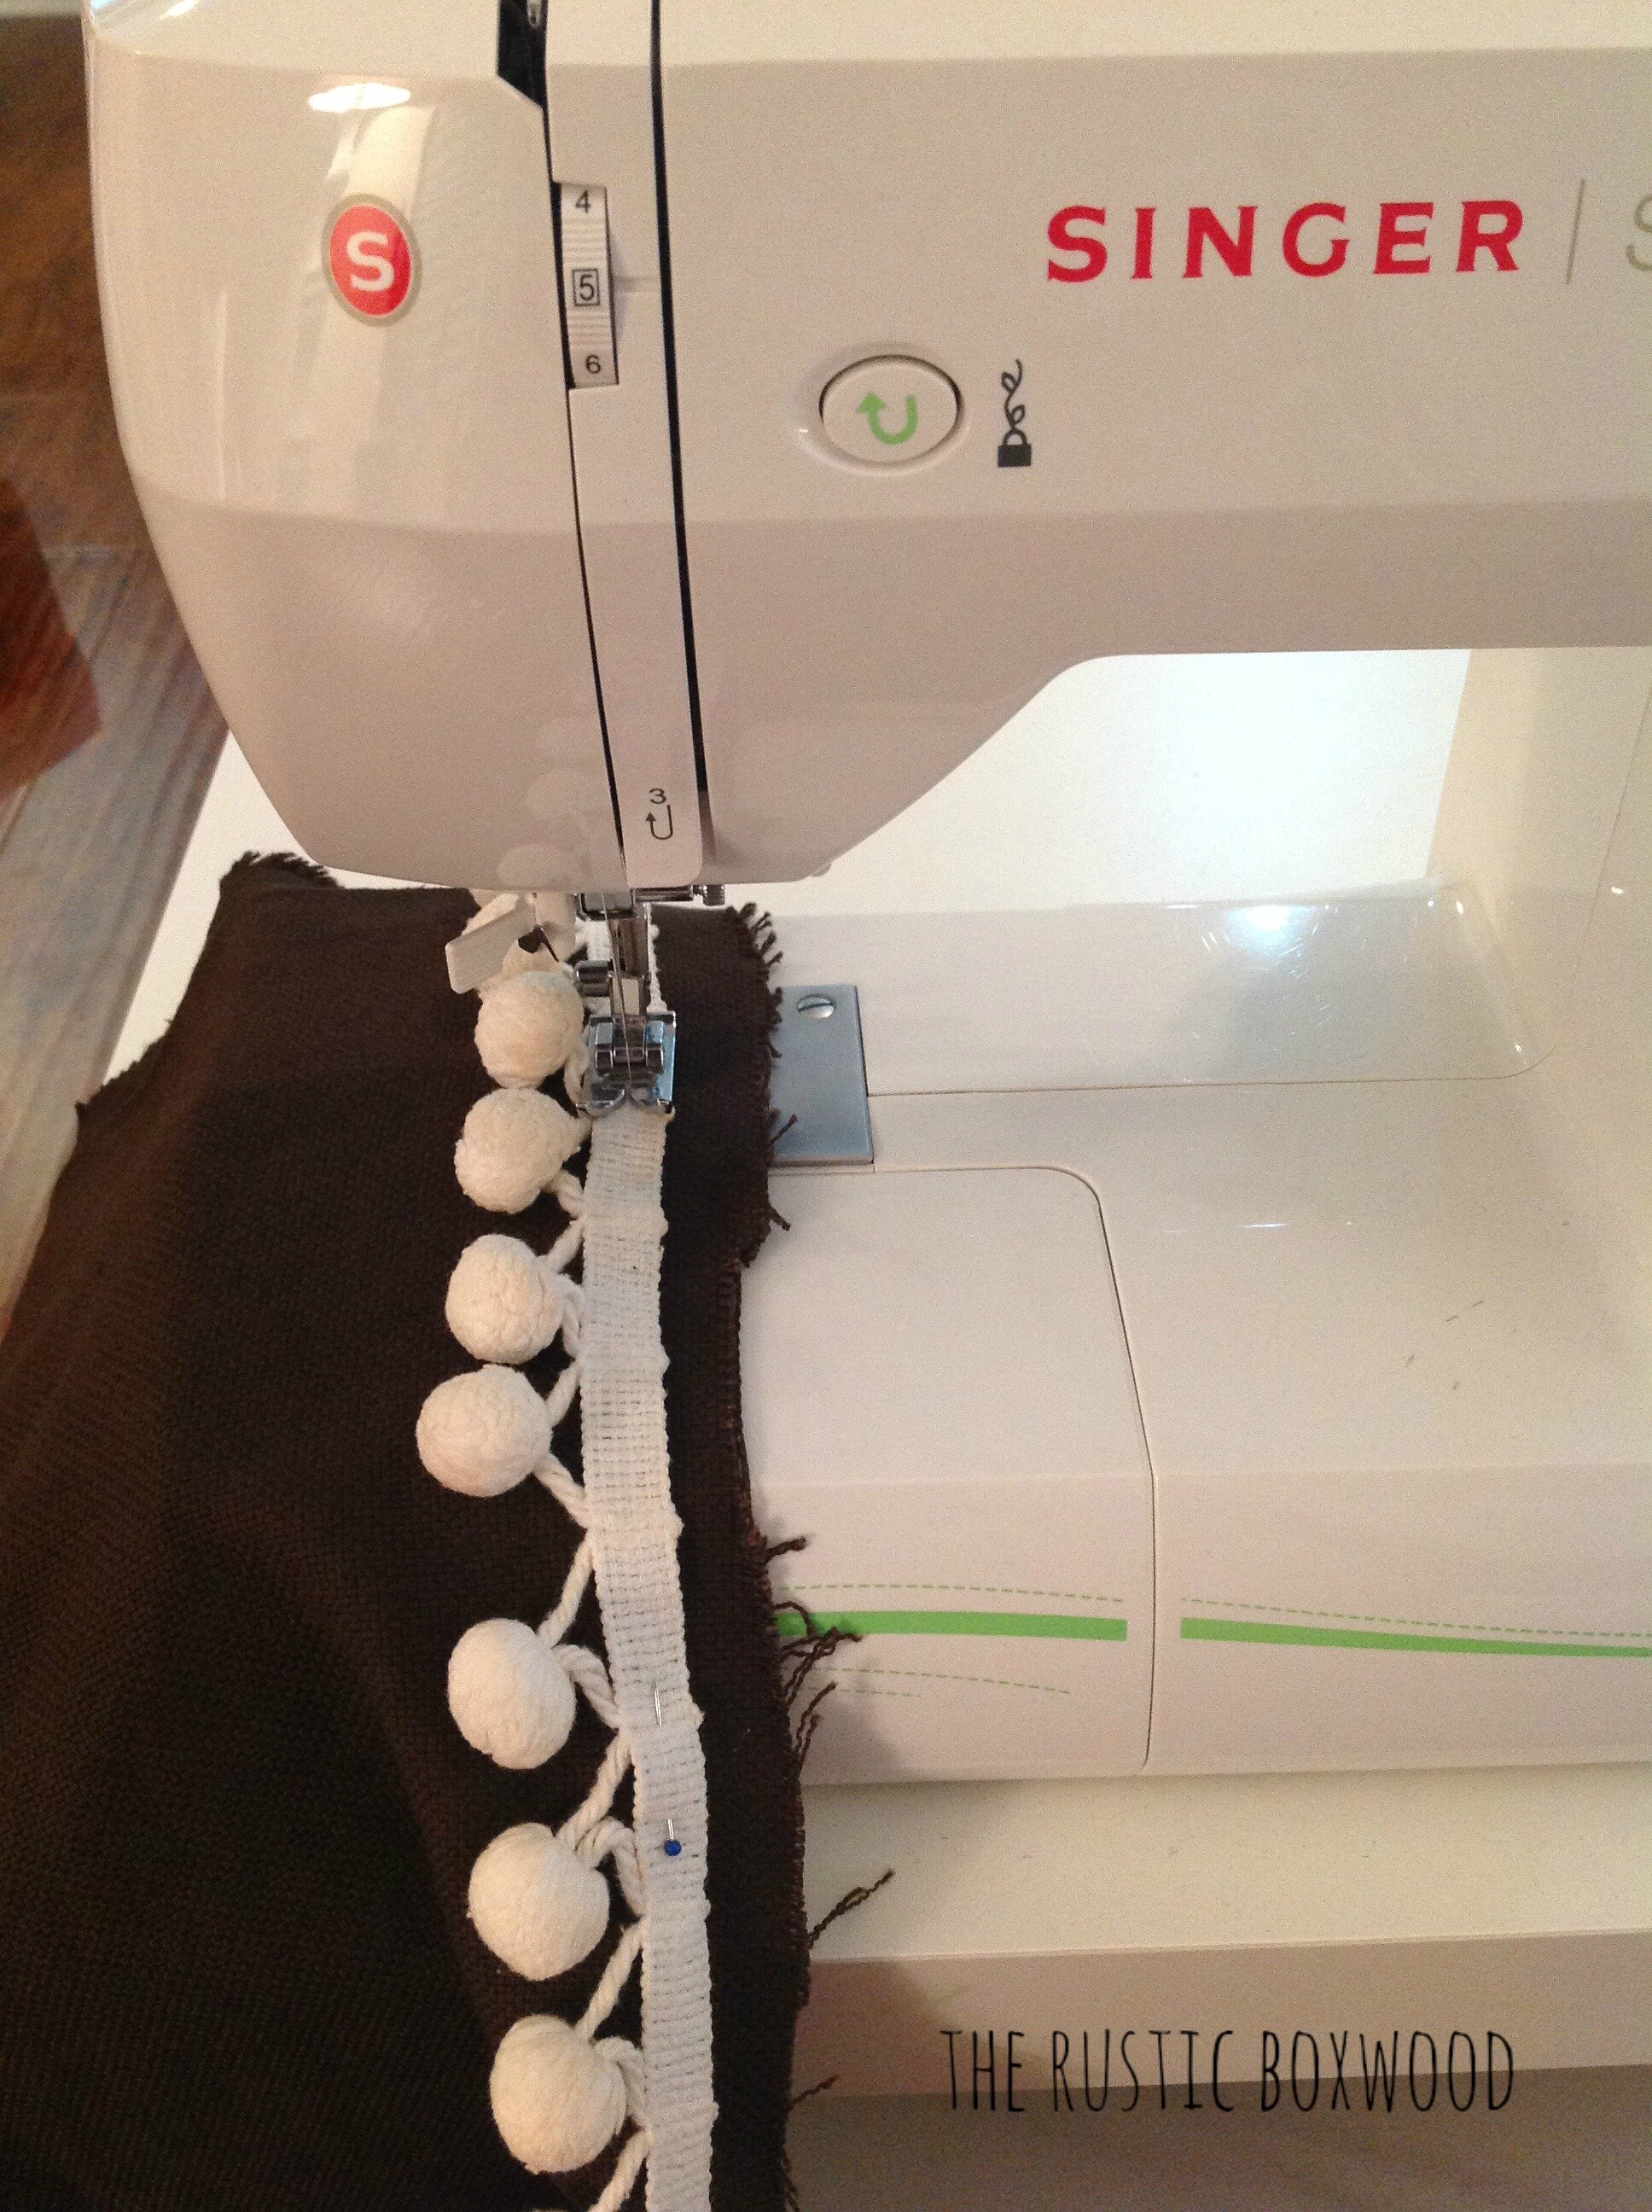
Start out by measuring the length and width of your pillow insert. Since I had a 20x20 pillow insert, I added an inch to each side of the fabric for the seam allowance.Then, I ironed all the edges, so that I have a "line" to follow when sewing. Make sure you "measure twice, cut once!!" It would be terrible if you cut your fabric too short!Next, pin the pompoms to one edge of the fabric, making sure the pompom ribbon lines up with the ironed edge. At the end of the edge, carefully cut to size the pompom. Sew. You'll do that on each edge.(Also, don't mistakenly sew the edge to the outside of the pillow. Not that I need to remind any of you. No, you wouldn't make that mistake....only I would.) (See this next pic below. Do NOT, I repeat, DO NOT follow this pic below. Ahem.)Do you see what I did there? Not a good idea. Nope. You don't want the white thread showing up on the outside of your beautiful fabric. Anyway. Moving on....After you realize that you've sewn the pompoms to the outside of your fabric, rip thread out and start over. Repin. Sew, making sure that this time, you unfold the ironed edge that you want to sew....As you see in the pic below.Much better. Repeat on the other 3 sides. Once that's complete, sit back and marvel that you've actually accomplished something semi-professional! Woohoo. You're halfway finished!This next step requires that you match the right sides together, making sure that the pompoms are tucked inside.Repeat around two more sides, leaving the last side open for a zipper. Now this step may sound daunting to some of you, but I promise, it's not as hard as it sounds.Pin one side of the zipper to your fabric. (Double check that you have pinned the right side to the right side, if you know what I mean. We don't want to add any unnecessary steps to your wonderful project!)After you've sewn one side of your zipper to the fabric, flip it over to the other side (leaving the zipper unzipped) and do it again.See? Wasn't that easier than you expected?! Now sit back and enjoy your masterpiece! Thank you for stopping by! Please take a moment and leave a comment. I'd love to hear about your experiences with sewing and if you've had any setbacks!


