Easy Whitewashed, Stenciled and Faux Concrete DIY Pots
Hey friends! Thanks for stopping by today! Before we begin, I wanted to remind you to follow along with me on Pinterest, Instagram, Twitter, HomeTalk and Facebook, so you don't miss another post. Also, I did a live video tutorial on this very project, and you definitely DON'T want to miss it! (Click here to view the video tutorial.)
Okay...let's get started!
I compiled my pots that I collected at various estate sales, thrift stores, AND I bought some brand new ones from local shops. ;)
So here they are in their "before" state --
Project #1: Whitewashed Pots
What you'll need:
paper plate
foam brush (use the ones with the wooden handles)
paper towels
paper/plastic cup filled with water (about a 1/2 cup or so)
2 fl. oz. chalky finish in Everlasting (Americana Decor line by DecoArt)
latex gloves (optional)
terra cotta pot
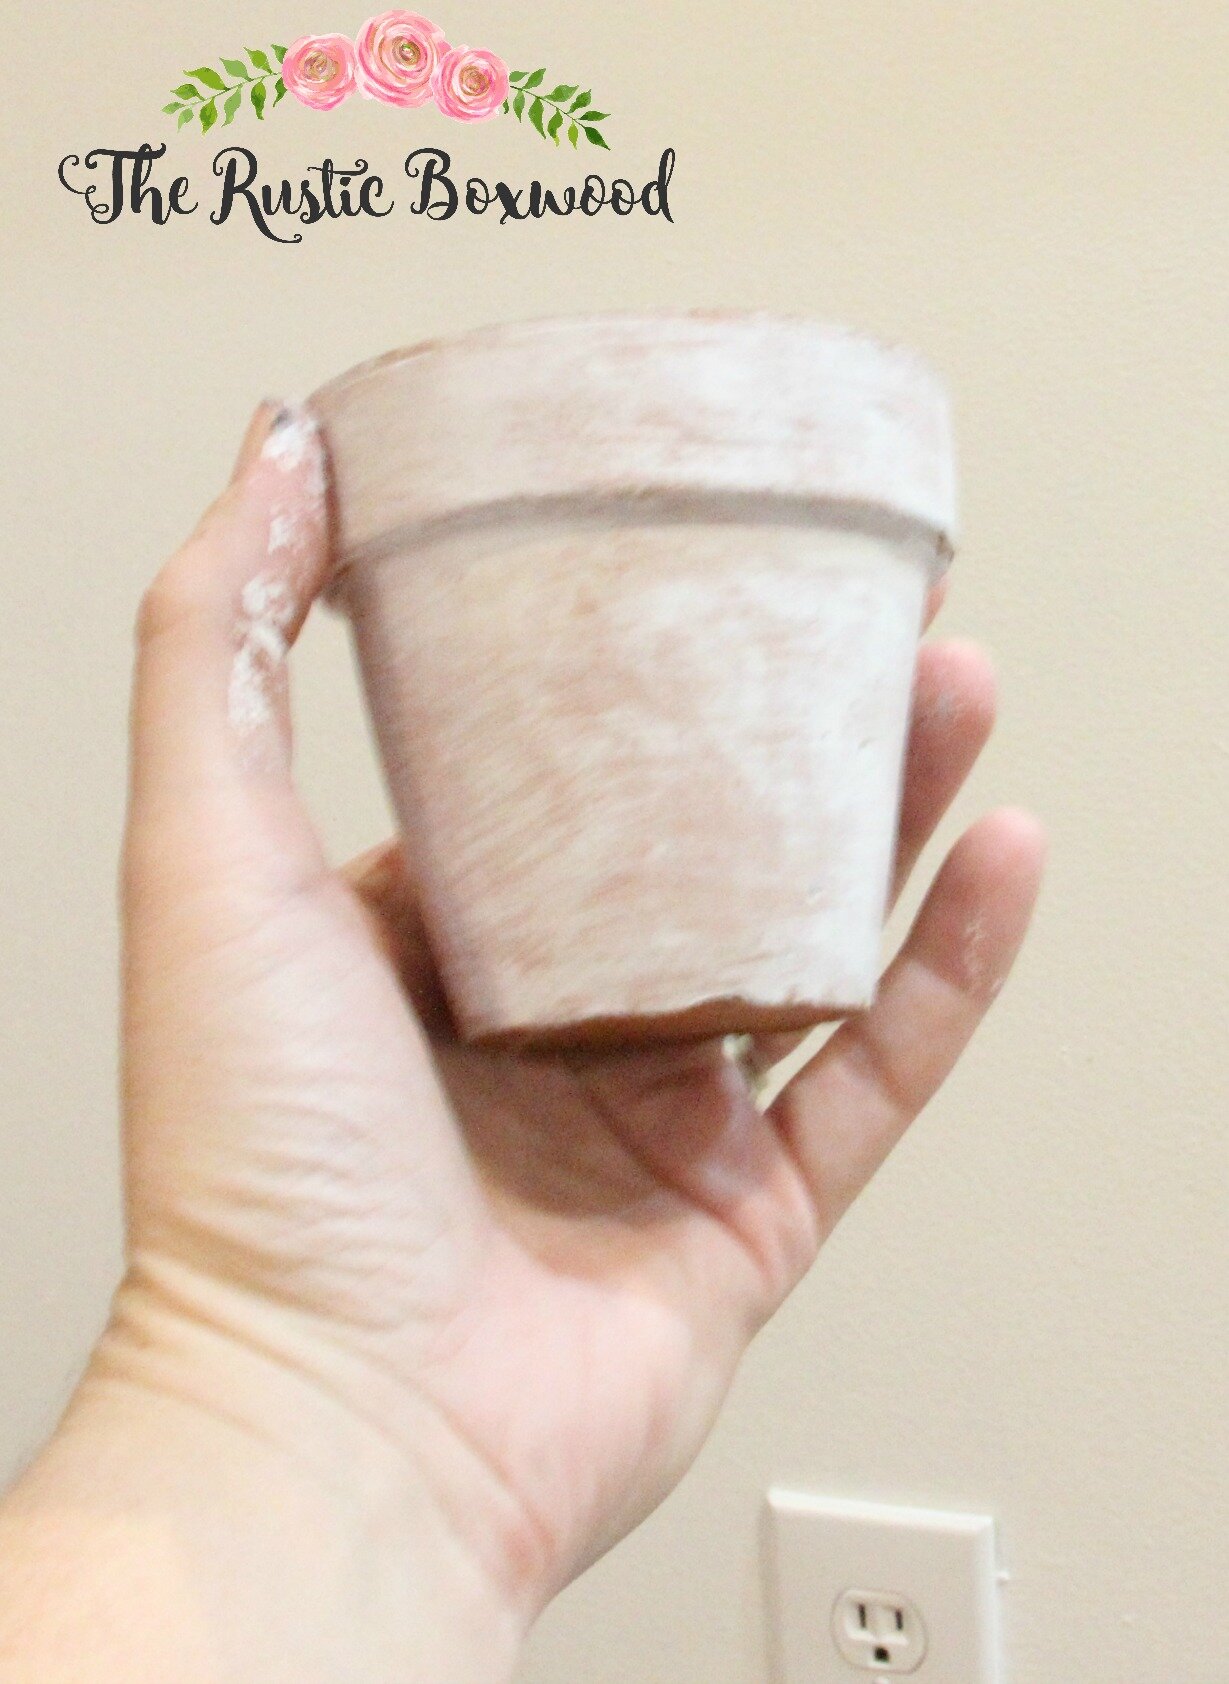
This project is so easy and quick. You'll love how the pots look after you're finished with them! First, squirt some white paint onto your paper plate. Next, after dabbing your foam brush into the white paint, swipe the brush horizontally across your pot. Immediately after, take your slightly dampened and wadded up paper towel, and smear the paint vertically and horizontally on your pot. Keep doing this method until you've completely covered your pot.
Approach this pot as your work of art, but don't take it seriously at all. And don't do it perfectly either, because then it won't look like it's aged naturally...and that's the look we DO want...a pot with the perfect patina. (Did you catch that? Haha. Hey. It's almost midnight, and I'm starting to fall asleep as I finish up this post, so no judging.) ;)
Also, depending on what you place inside your pot, be sure to whitewash the inside of your pot, maybe just a couple of inches down from the top, so that it looks uniform with the outside of your pot. ;)
Here's how it'll look during your "whitewashing"...
(Please see the pics in project #2 for the end result of these gorgeous pots!)
I love these whitewashed pots, because they're great for any season, and they're so beautiful! Pop in some fake greenery from Ikea or your local crafts store, or use them as napkin or flatware holders at your next dinner party. Or you could even whitewash a trio of pots and plant some fresh herbs in each. The possibilities are endless!
Project #2: Stenciled Pots
I took the whitewashed pots one step further by using a fun, antique-styled stencil to give it that old-world look. And I love it!
What you'll need:
"French Elements" stencil (I used the "Andy Skinner" line by DecoArt.)
scissors
tape
sand paper
Small container of the chalky finish paint in "Carbon" (Americana Decor line by DecoArt)
foam brush
terra cotta pot
latex gloves (optional)
After following the above steps to give my pot that whitewashed effect, I chose the stencil I wanted, which in this case was the "1812" stencil from the pack above. Then, I cut around it and gently taped the sides to the pot.
Using the black, chalky paint and the foam brush, I gently dabbed the paint all over the stencil.
And then I carefully removed the stencil from the pot. Now to me, this looks too perfect. It needs to be scruffed up a bit. Don't you agree?
So after letting the black paint dry COMPLETELY, I gently sanded it to make it look like this...
Or here's another idea for your whitewashed pots (or any of these pots, for that matter)....
Just add some white beans (from the grocery store) as filler, insert a succulent stem (this one's from the dollar store), and voila! A gorgeous French-looking, antiqued pot! ;)
Project #3: Faux Concrete Pots
Don't you love the look of concrete, yet hate the heaviness of them? Also, I'm sure most of us have pots that are sitting stacked up on our back porch or in our garage somewhere, so why not grab a couple and try your hand at these? They're so much fun and trendy! Plus, they make great gifts!
What you'll need:
Chalky finish paints in these 3 colors: Everlasting, Carbon and Yesteryear (all from the Americana Decor line by DecoArt)
3 foam brushes
paper towels
paper plate
terra cotta pot
latex gloves (optional)
Prep: Squirt about a quarter size of each paint color onto your paper plate, and rest each foam brush at each paint color. Also, have your paper towel dampened and ready to go. And lastly, fill your paper cup to about a half cup or more.
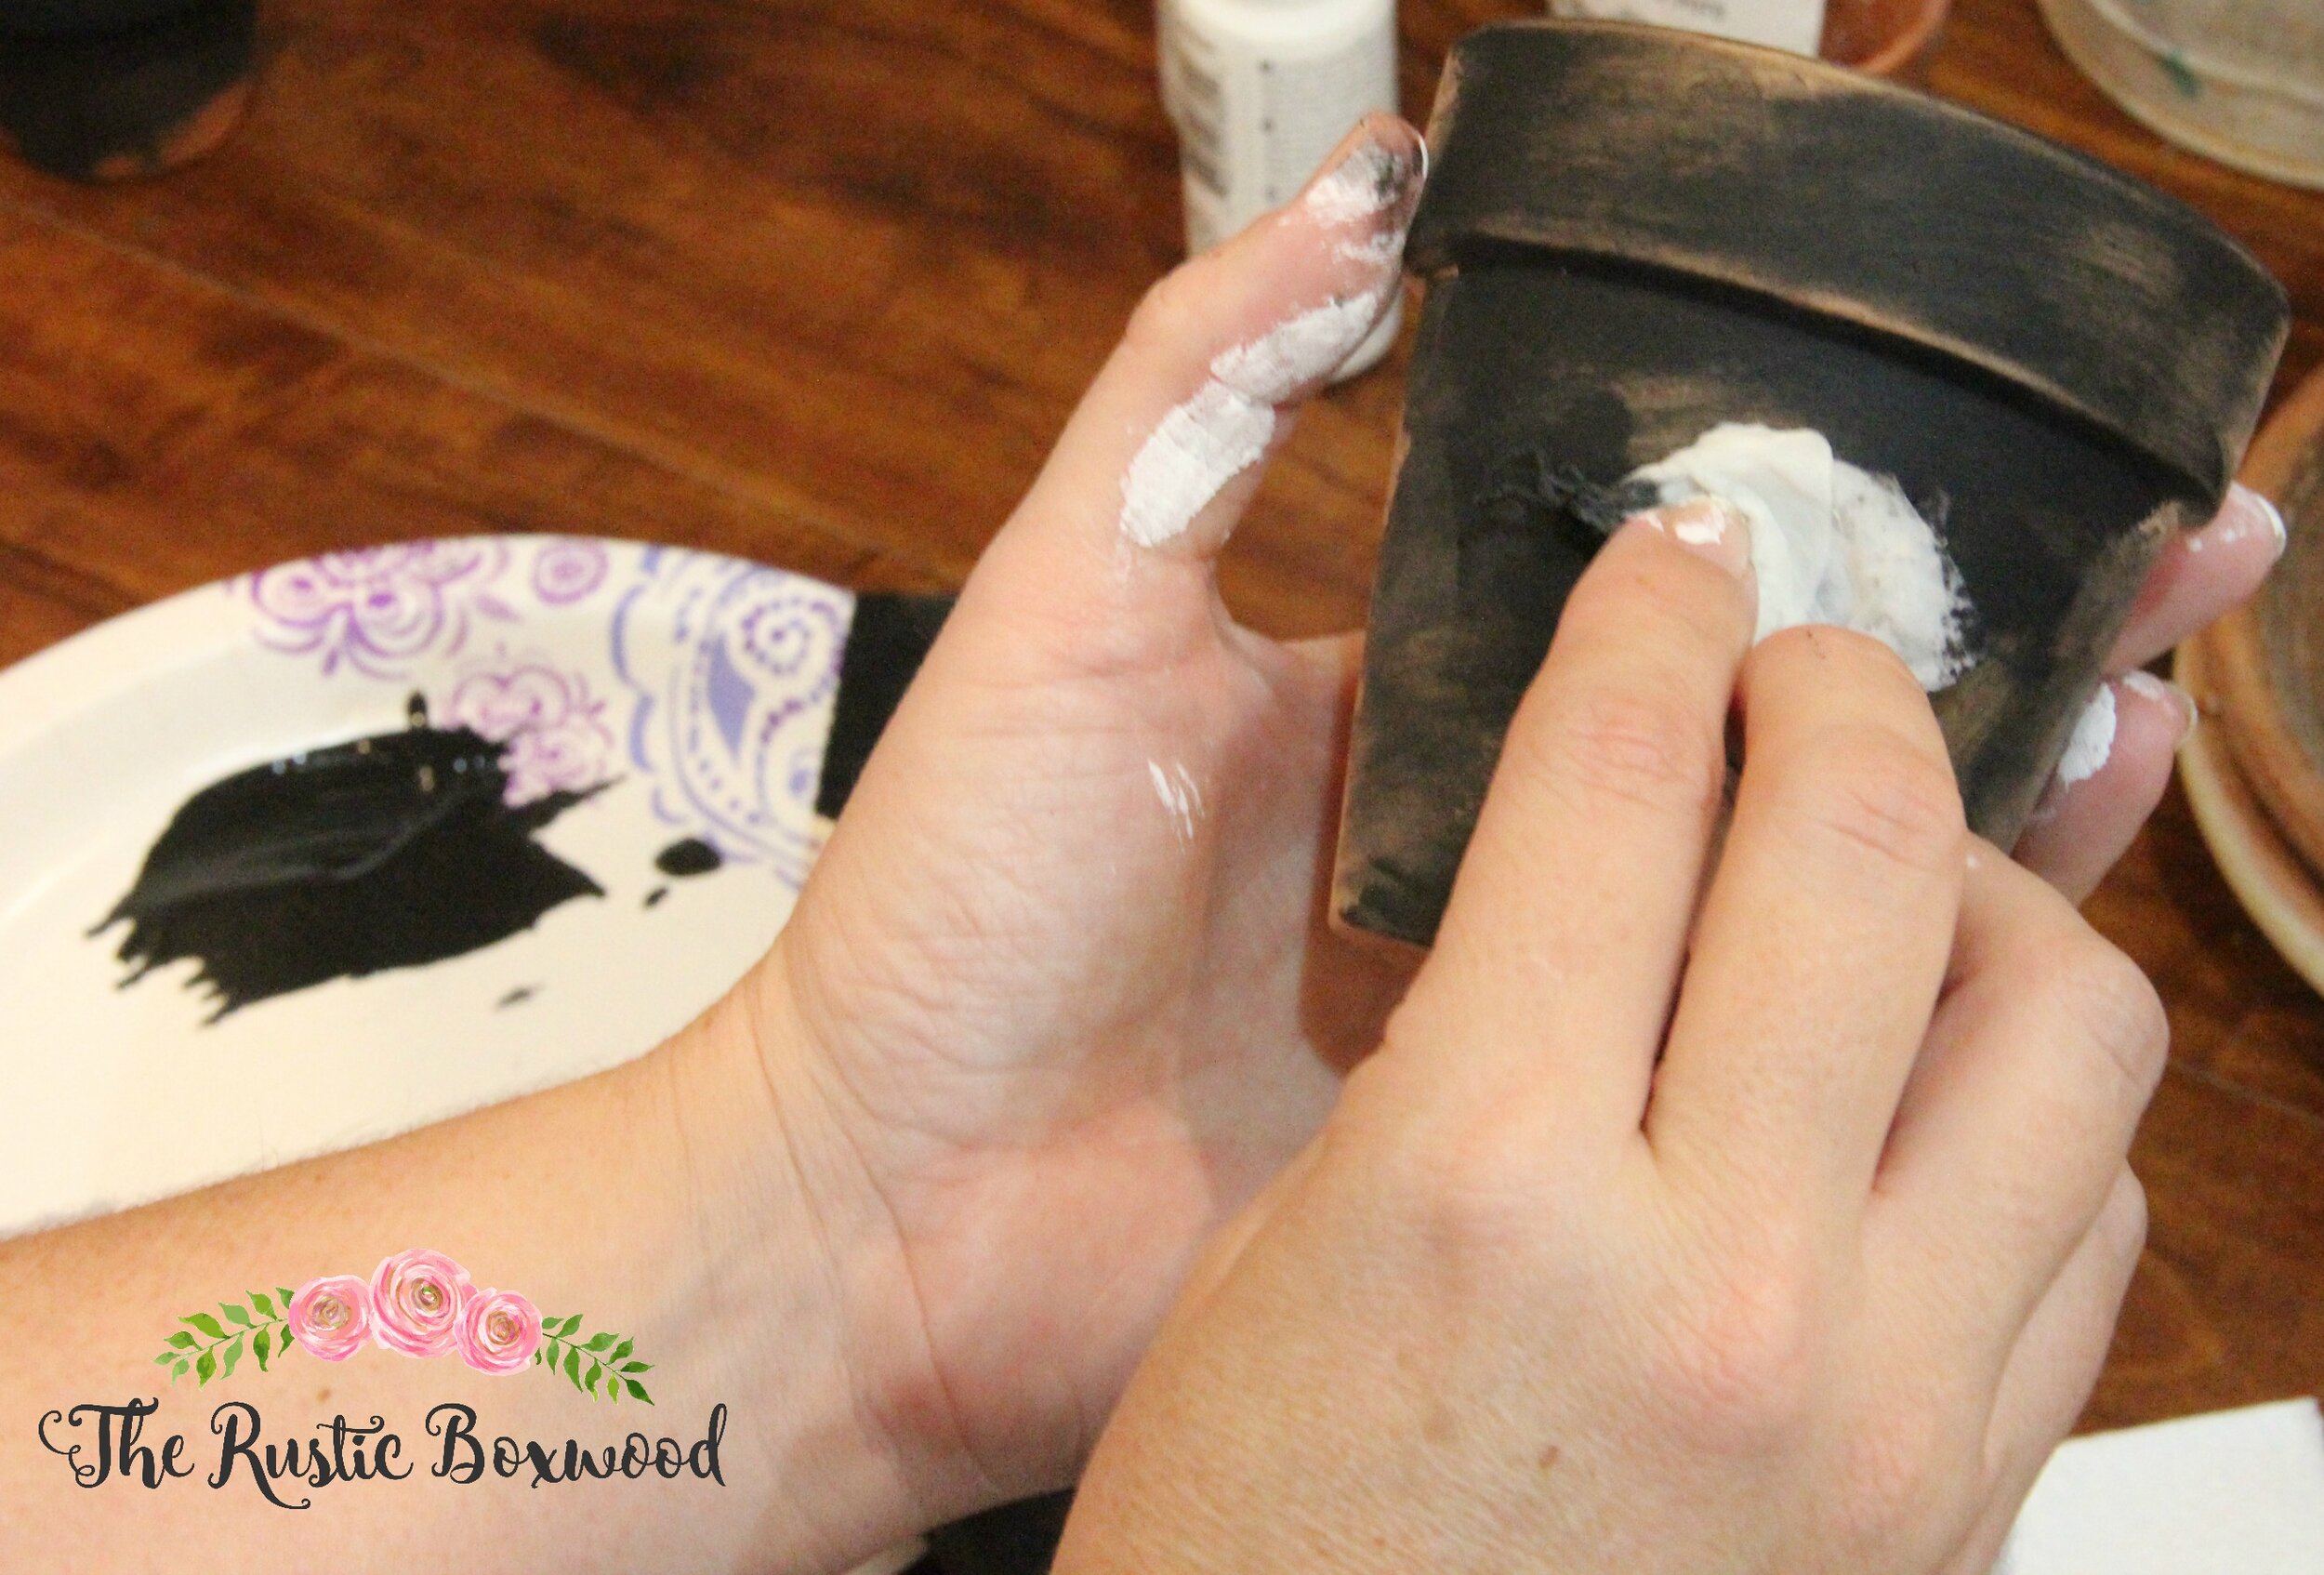
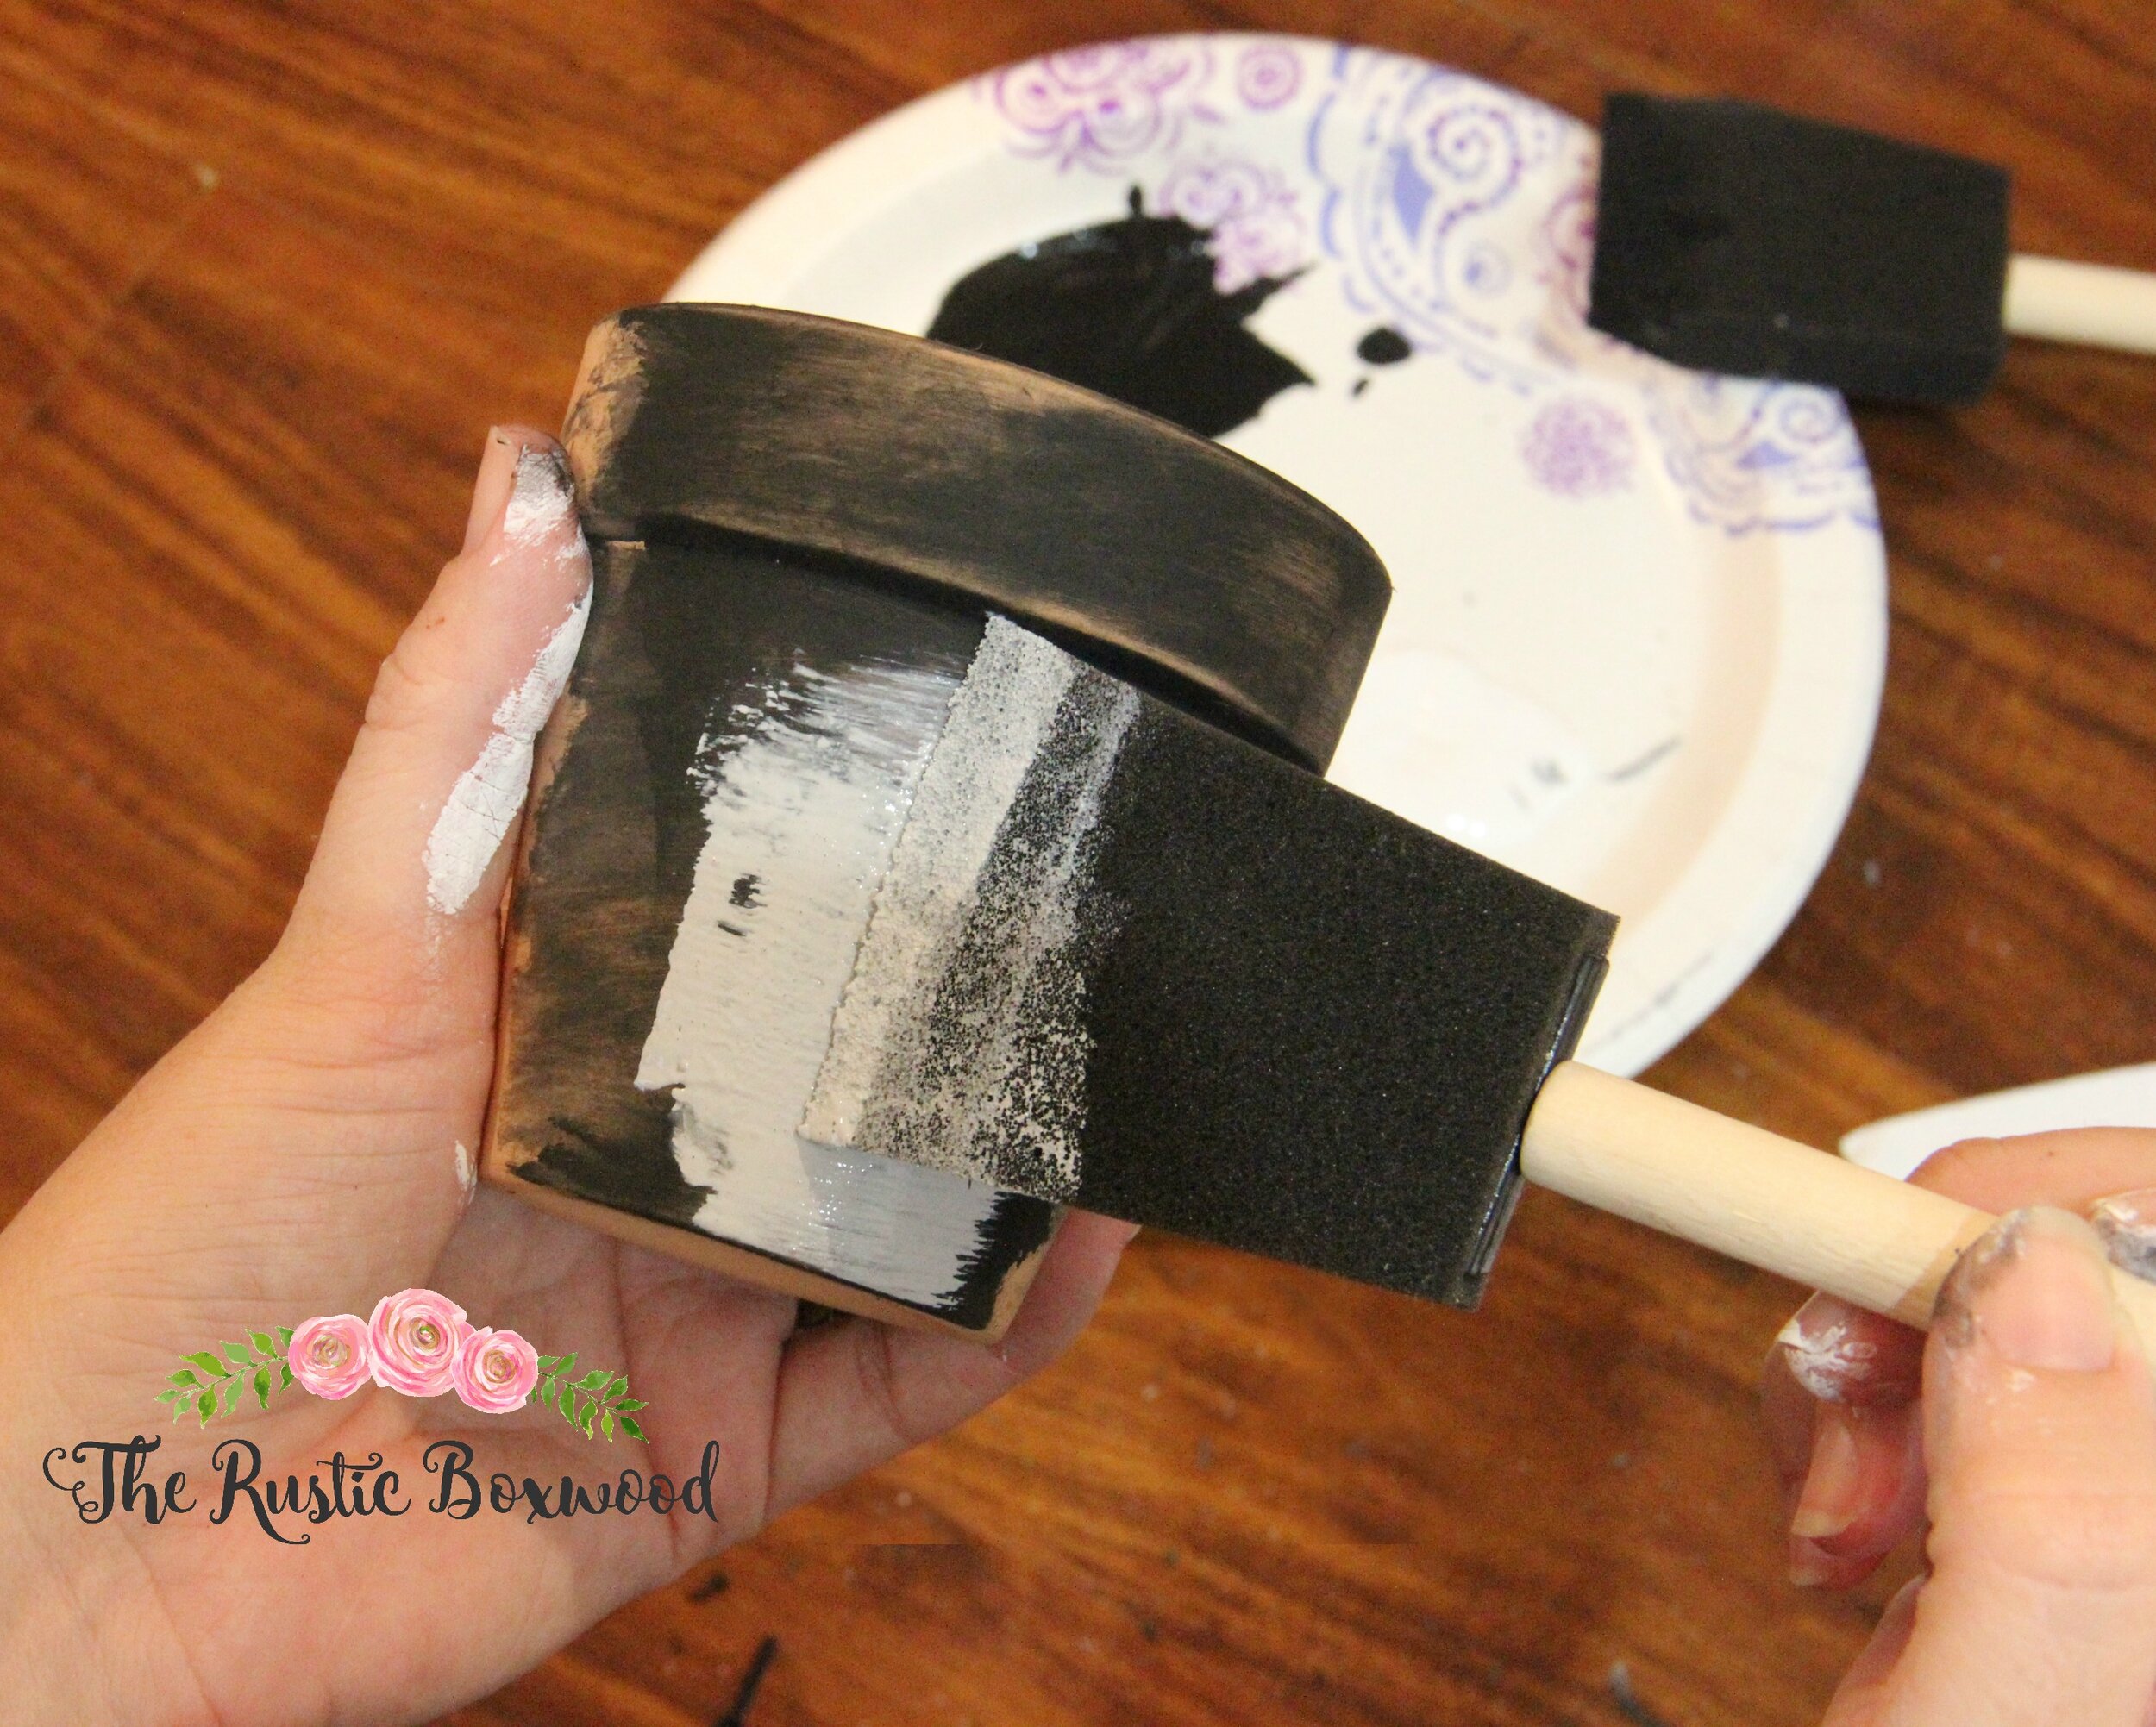
With your pot in one hand and your foam brush in the other hand, dab your brush into the black paint. And doing this project in segments, make horizontal strokes with your brush. Immediately after, take your dampened and wadded up paper towel and rub it on your pot, smearing the paint and giving it that rustic look. Use this same method until you've completely gone around your pot. It should look a little something like this...
In other words, for each color, don't cover the pot completely. You want it to look like an antique, concrete pot. ;)
Now that you've finished step 1 with the black paint (or "carbon"), it's time for step 2, which is the gray paint (or "yesteryear"). Follow the same instructions that I gave you previously for the black paint.
Now it's time for step 3...the white paint (or "everlasting"). Again, follow the same technique that you've used for steps 1 and 2.
Here's how that type of finish looks now...
And here's how the "whitewash" and the "faux concrete" finishes look in the pic below...
Ohhh...I just love them so! The pot on the right is actually started out as a maroon, PLASTIC pot that I bought at our local dollar store, just to show you how the concrete finish looks on different materials.
I also picked up an old, metal pot at a thrift store that had butterflies painted onto it, which wasn't my style at all, so I painted over the pot, using the faux concrete technique. I love how it turned out!
Here's the before...
And here's how it looks now...
I love how it rests on our dish-towel bar in the kitchen. ;)
See how rustic they look? Just gorgeous! And I love it that none of these pots are the same. There's so much variation, that you don't have to worry about being perfect with this technique. Also, it's so great to know that this technique works on metal, terra cotta and plastic! Woohoo!
So what do you think about these pots? Which one's your favorite? I loved making them, and I know you will too! If you have any questions, please feel free to comment below, or email me at TheRusticBoxwood@gmail.com. Again, here's the link to my live video tutorial, and I think watching the step-by-step will help you as you learn these techniques! Or if you just want to stop by and say hey on Pinterest, Instagram, Twitter, HomeTalk and Facebook....It always makes my day to hear from my sweet readers!!
You might also like:
