DIY Pottery-Barn Inspired Moss Letter
I have a treat for y'all! Today, I'd like to show you how to make a beautiful AND budget-friendly moss letter! (Psss...Here's the video tutorial link to this very project, plus some other inspiring Fall tips for the mantel! Thanks so much to all who tuned in and commented! My hubby and I had a blast sharing this tutorial with y'all! Also, sending a huge shoutout filled with love for all my sweet friends at HomeTalk for inviting me to join them today!)
A similar design to the project we're doing today is Pottery Barn's "live-moss letter," which costs $80, but my project costs around $10...or even less (depending on how you use your craft-store coupons, or if you find these supplies in your local thrift store, which I've done on quite a few occasions!). ;) This project is so easy...even a caveman can do it! It'll take about 15 minutes, give or take, and you'll absolutely love the results!
Supplies
a bag of "bushy" moss (from your local craft store)
wooden letter...or any type of letter or monogram (again, from your local craft store)
hot glue gun
hot glue sticks (preferably the long ones)
plastic fork (or plastic spoon or knife...whatever you've got on hand)
optional: glass of wine, a divinely-scented candle, and your favorite music playing in the background ;)
Let me preface by informing you that this project can get a little messy. Not to worry...it's super-easy to clean up! Also, make sure you don't hot glue any moss on the bottom part of your letter...or else your letter won't want to stay sitting upright! Not to worry about that either though if it does happen....You'll be able to pull some of the glue off once it's dry, if you need to.
Before we begin, be sure to have everything ready to help set a fun ambiance while you work. Here are a few things I like to do when I'm getting ready to work on a project: 1. Pour yourself a yummy glass of wine. 2. Light your favorite, scented candle. 3. Turn on some fun music. (Want to know some of my favorites? Watch my live video tutorial with HomeTalk to find out!) ;) (BTW, that live video was my very first one, so please have a little grace on any of my mishaps!) ;)
Let's get started!
First, heat your glue sticks and hot-glue gun on the high setting.
Next, grab all your supplies, and pull out your moss, a few bunches at a time. (Try to separate these bunches...maybe into half-dollar sizes or smaller, depending on the size you get.)
Third, place a little hot glue on the letter, and immediately after, place a small amount of moss on the letter. (Now here's my little secret trick. Use that plastic fork of yours to hold down the moss!) (Hey...I kept burning my fingers and was desperate to try something! ;) Necessity is the mother of invention, right?!)
Repeat these steps until you've covered your letter. You might need to trim any scraggly moss around the edges, but it's very simple to do. The great thing about this project is that it's "perfectly imperfect." If you mess up, you can easily fix it! Added too much moss on one side? Trim it! Cut too much off? Add more moss! You get my drift. ;)
That's it! See?! It didn't take long at all....Or did it? ;)
Below, I've included a few other project ideas when it comes to using moss. And basically, just use the same method that was used for the mossy letter. ;) Very simple!
Project Idea #1 --
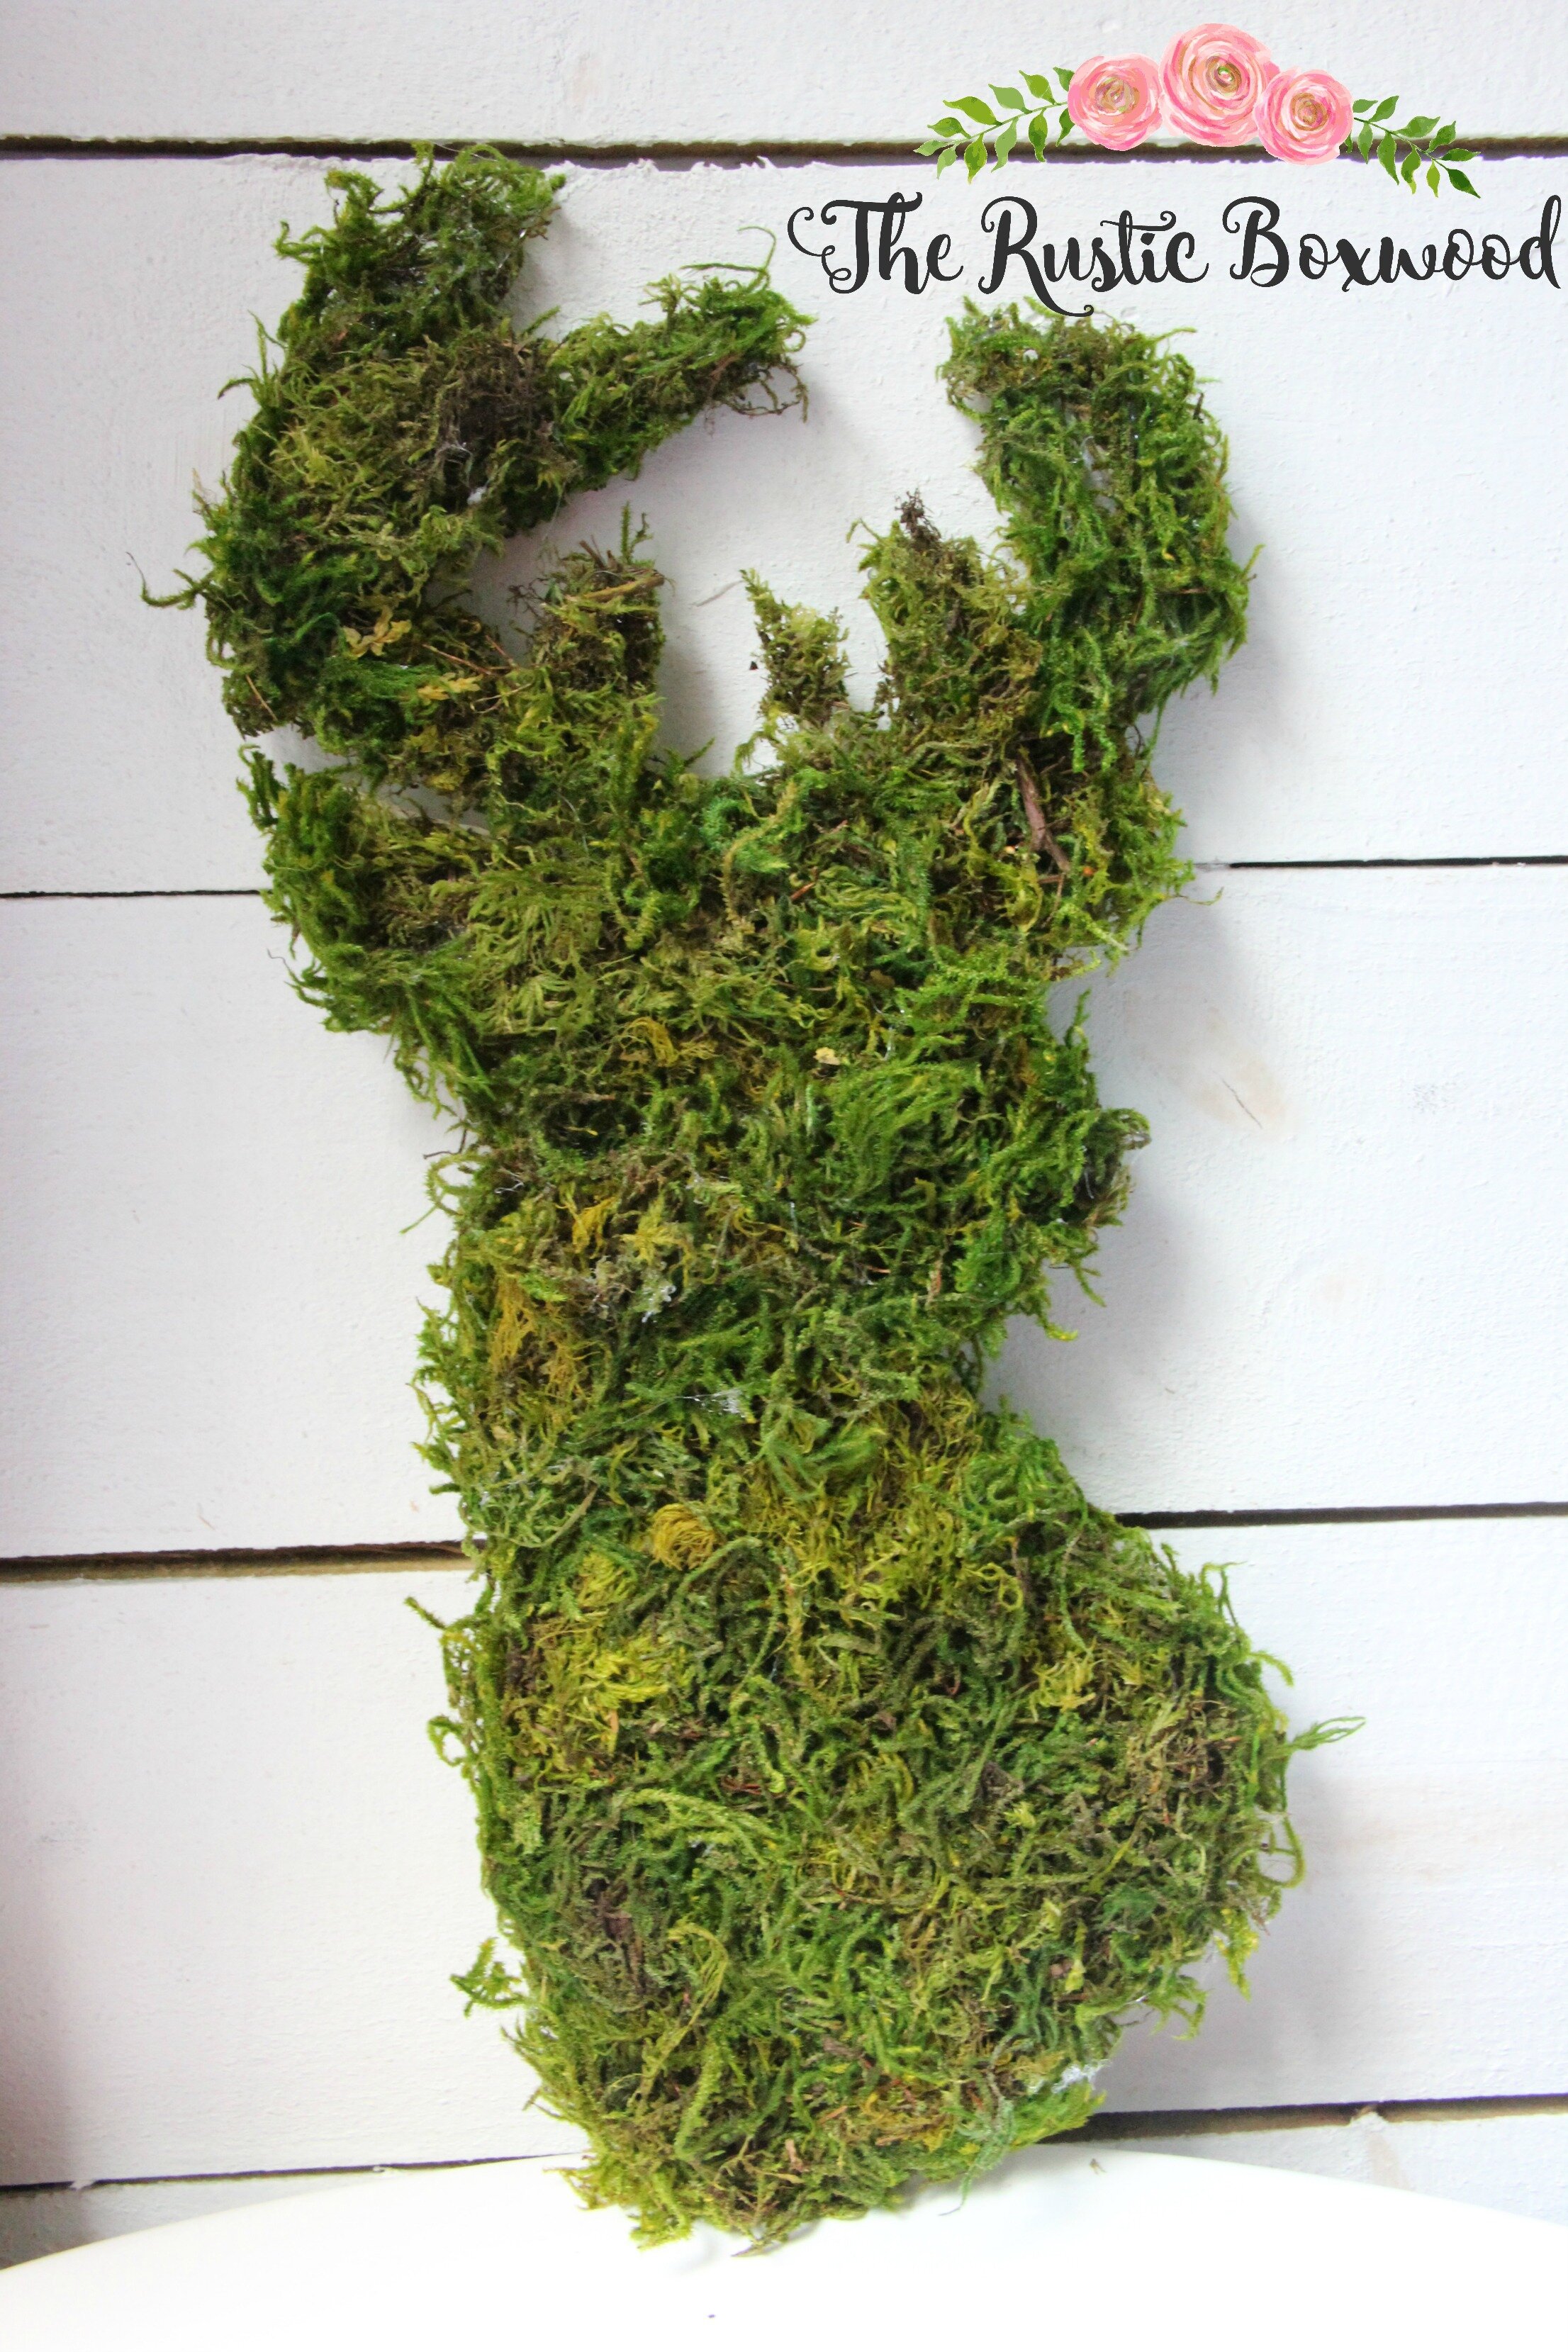
DIY Moss Stag (cost: about $10)
I picked up a wooden stag that was at my local crafts' store...
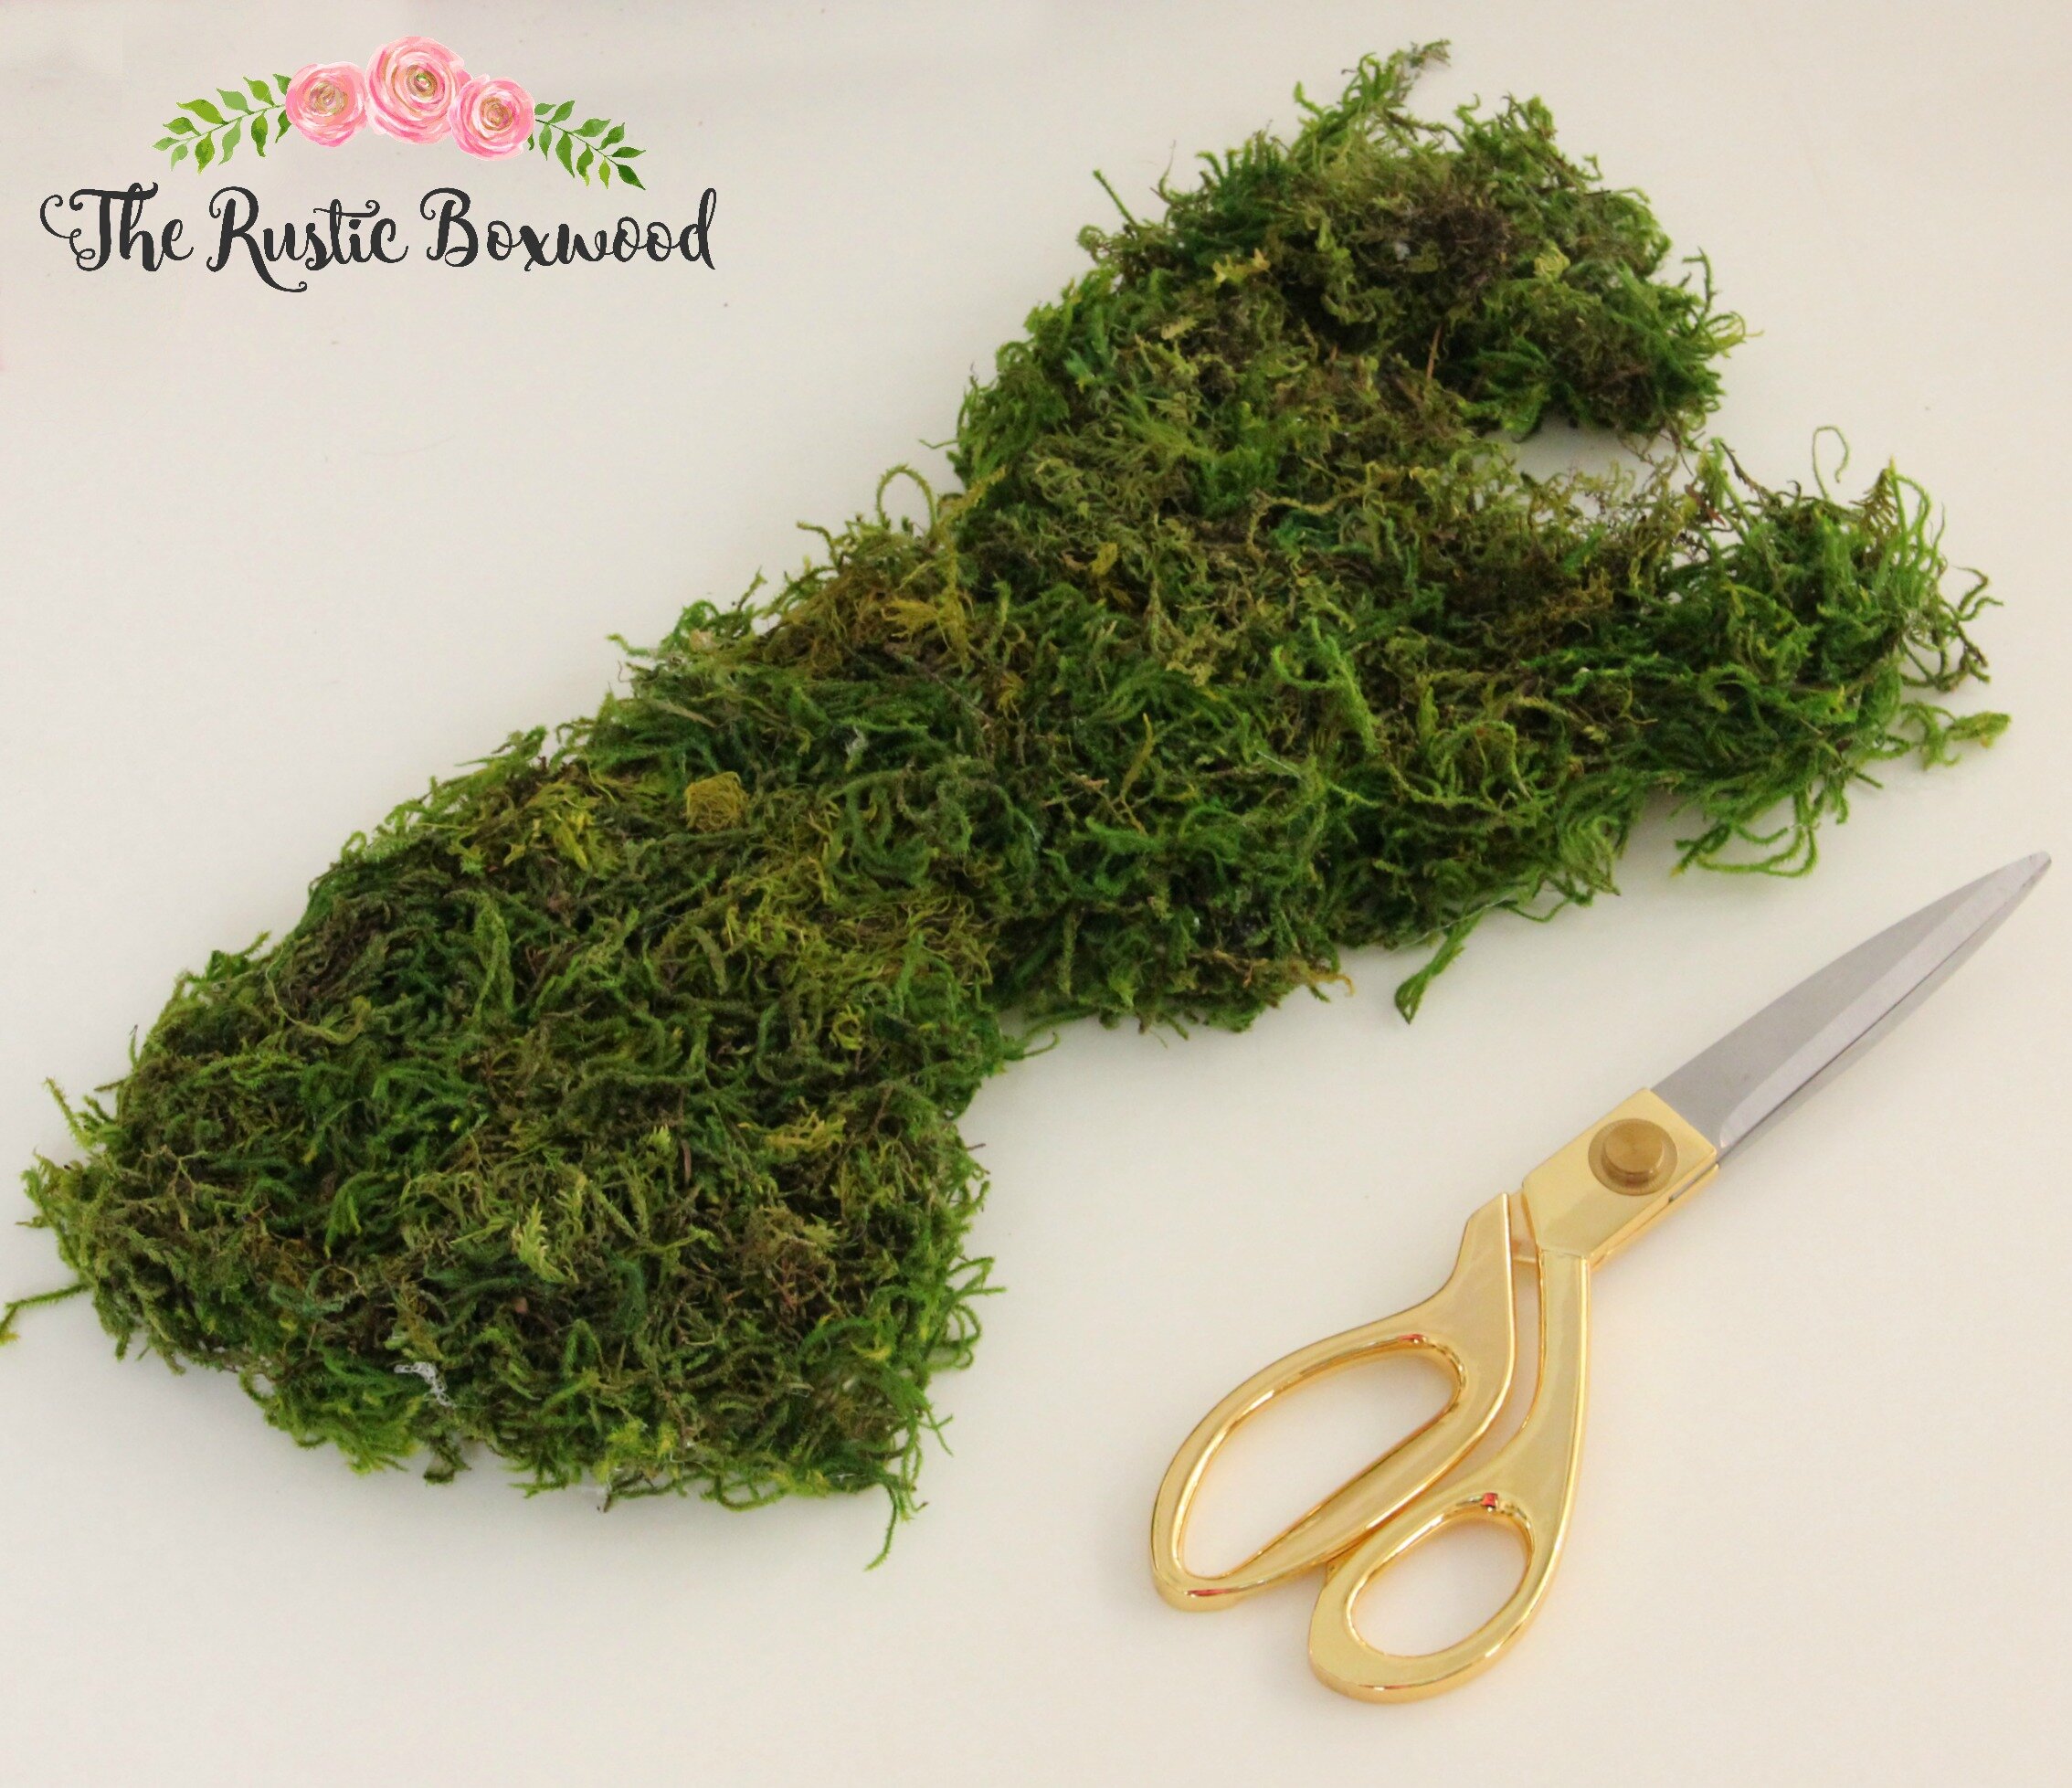
...and then hot-glued the "stringy" moss all over the wood. (I googled the different mosses, and both the stringy moss AND the bushy moss are called reindeer moss.)
Once the hot glue was dry, I trimmed the mossy edges in order to give all the antlers and the body some shape.
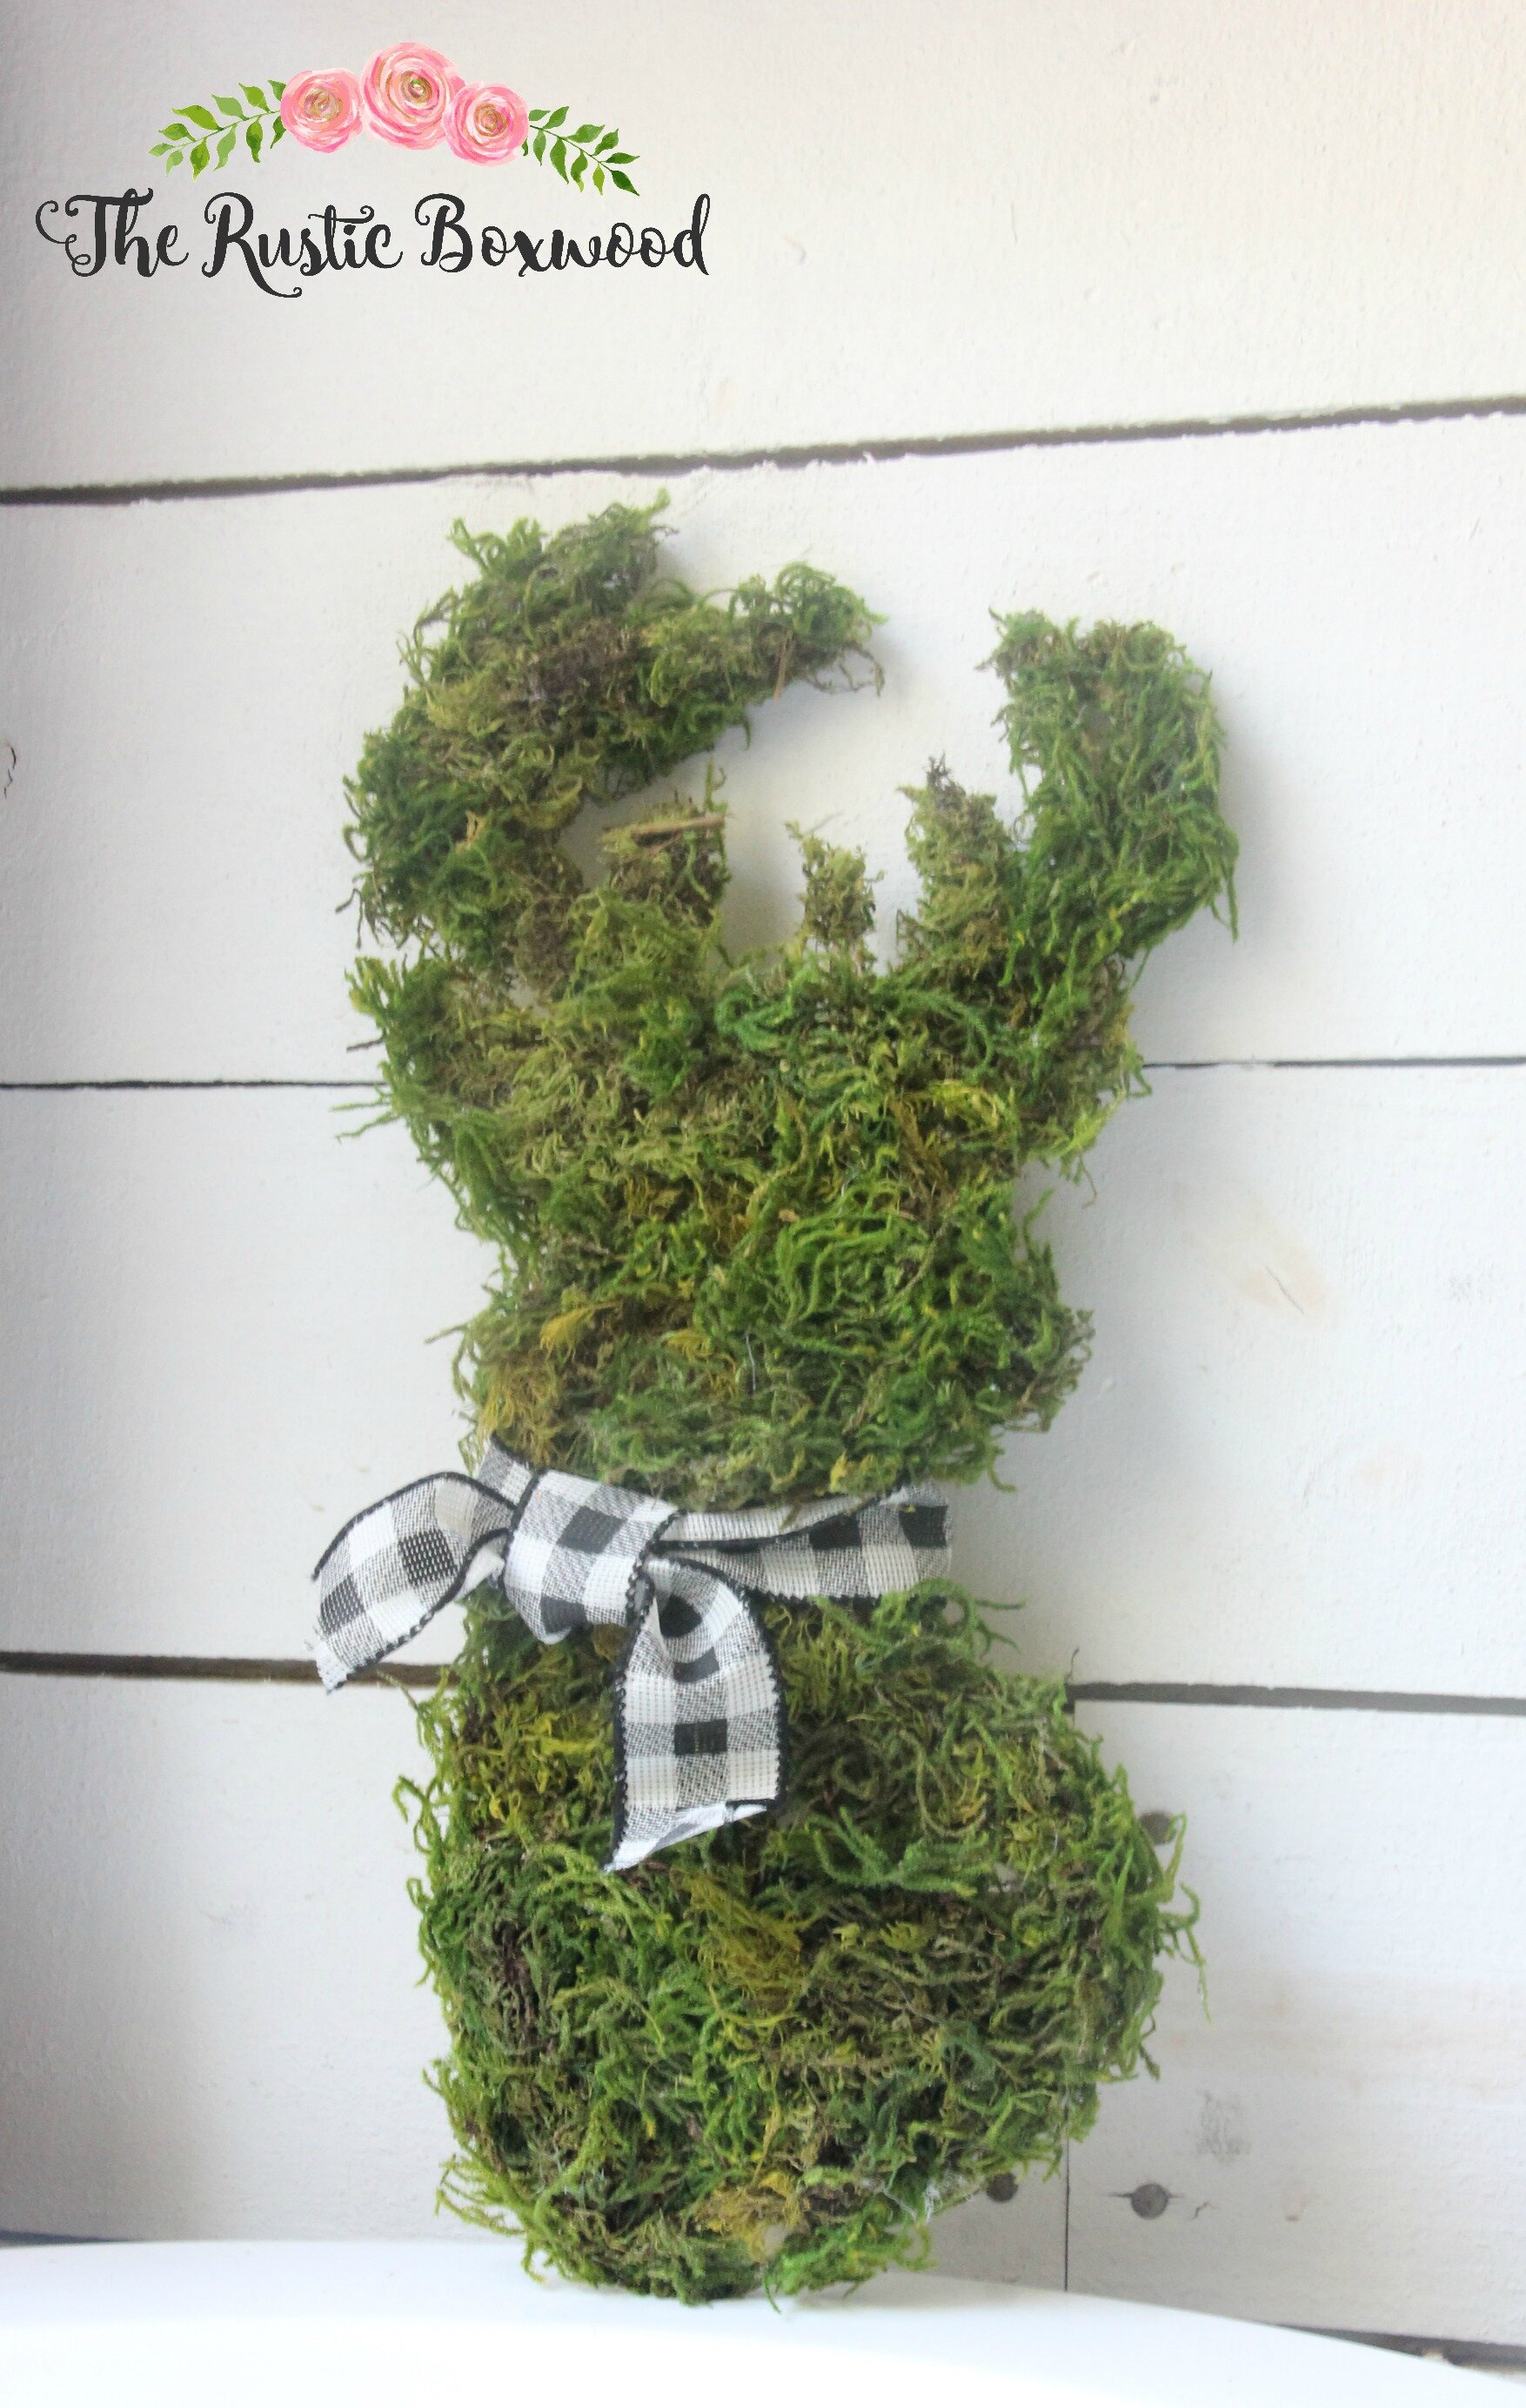
All done! ;)
If you want to dress it up a bit, just tie some buffalo-checked trim around the neck to add a little oomph. ;)
You can use this stag throughout every season!
Project Idea #2 --
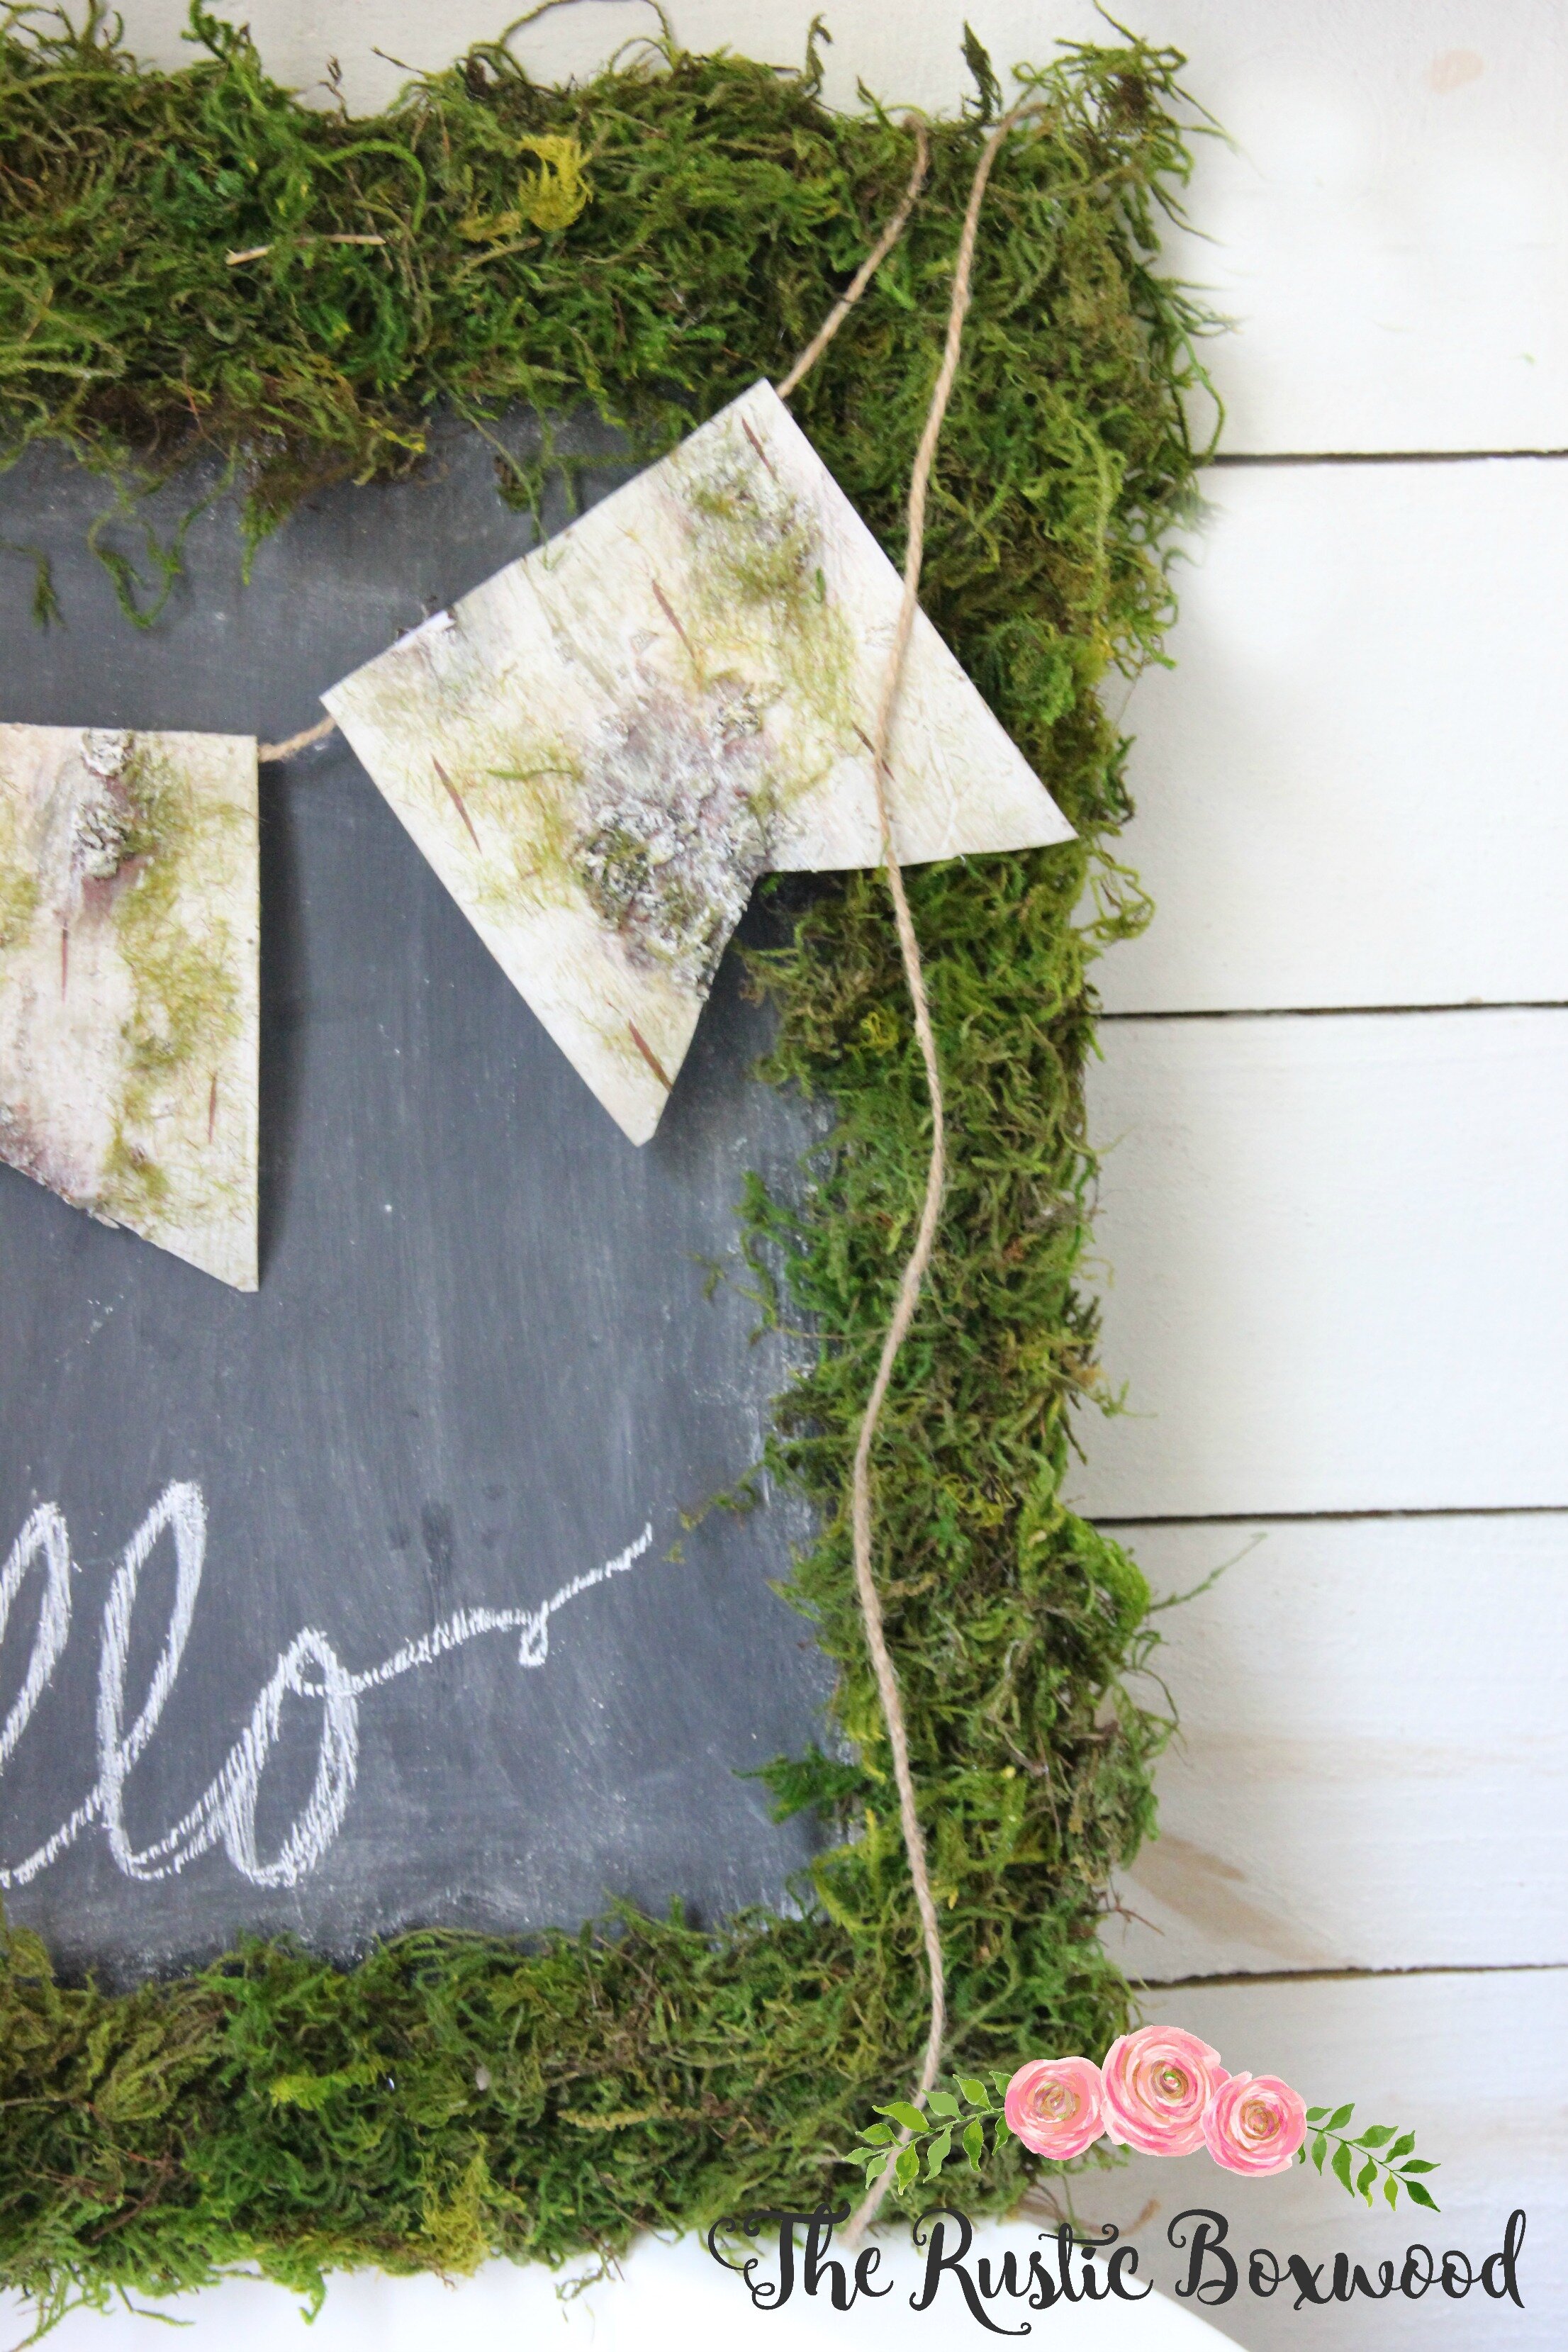
I've already written a blog post about this project, so please click on the direct link below for an easy tutorial!
Project Idea #3 --
This mossy project is another super-easy idea!
DIY Moss, Paper-Mache Taxidermy (cost: about $7-$10)
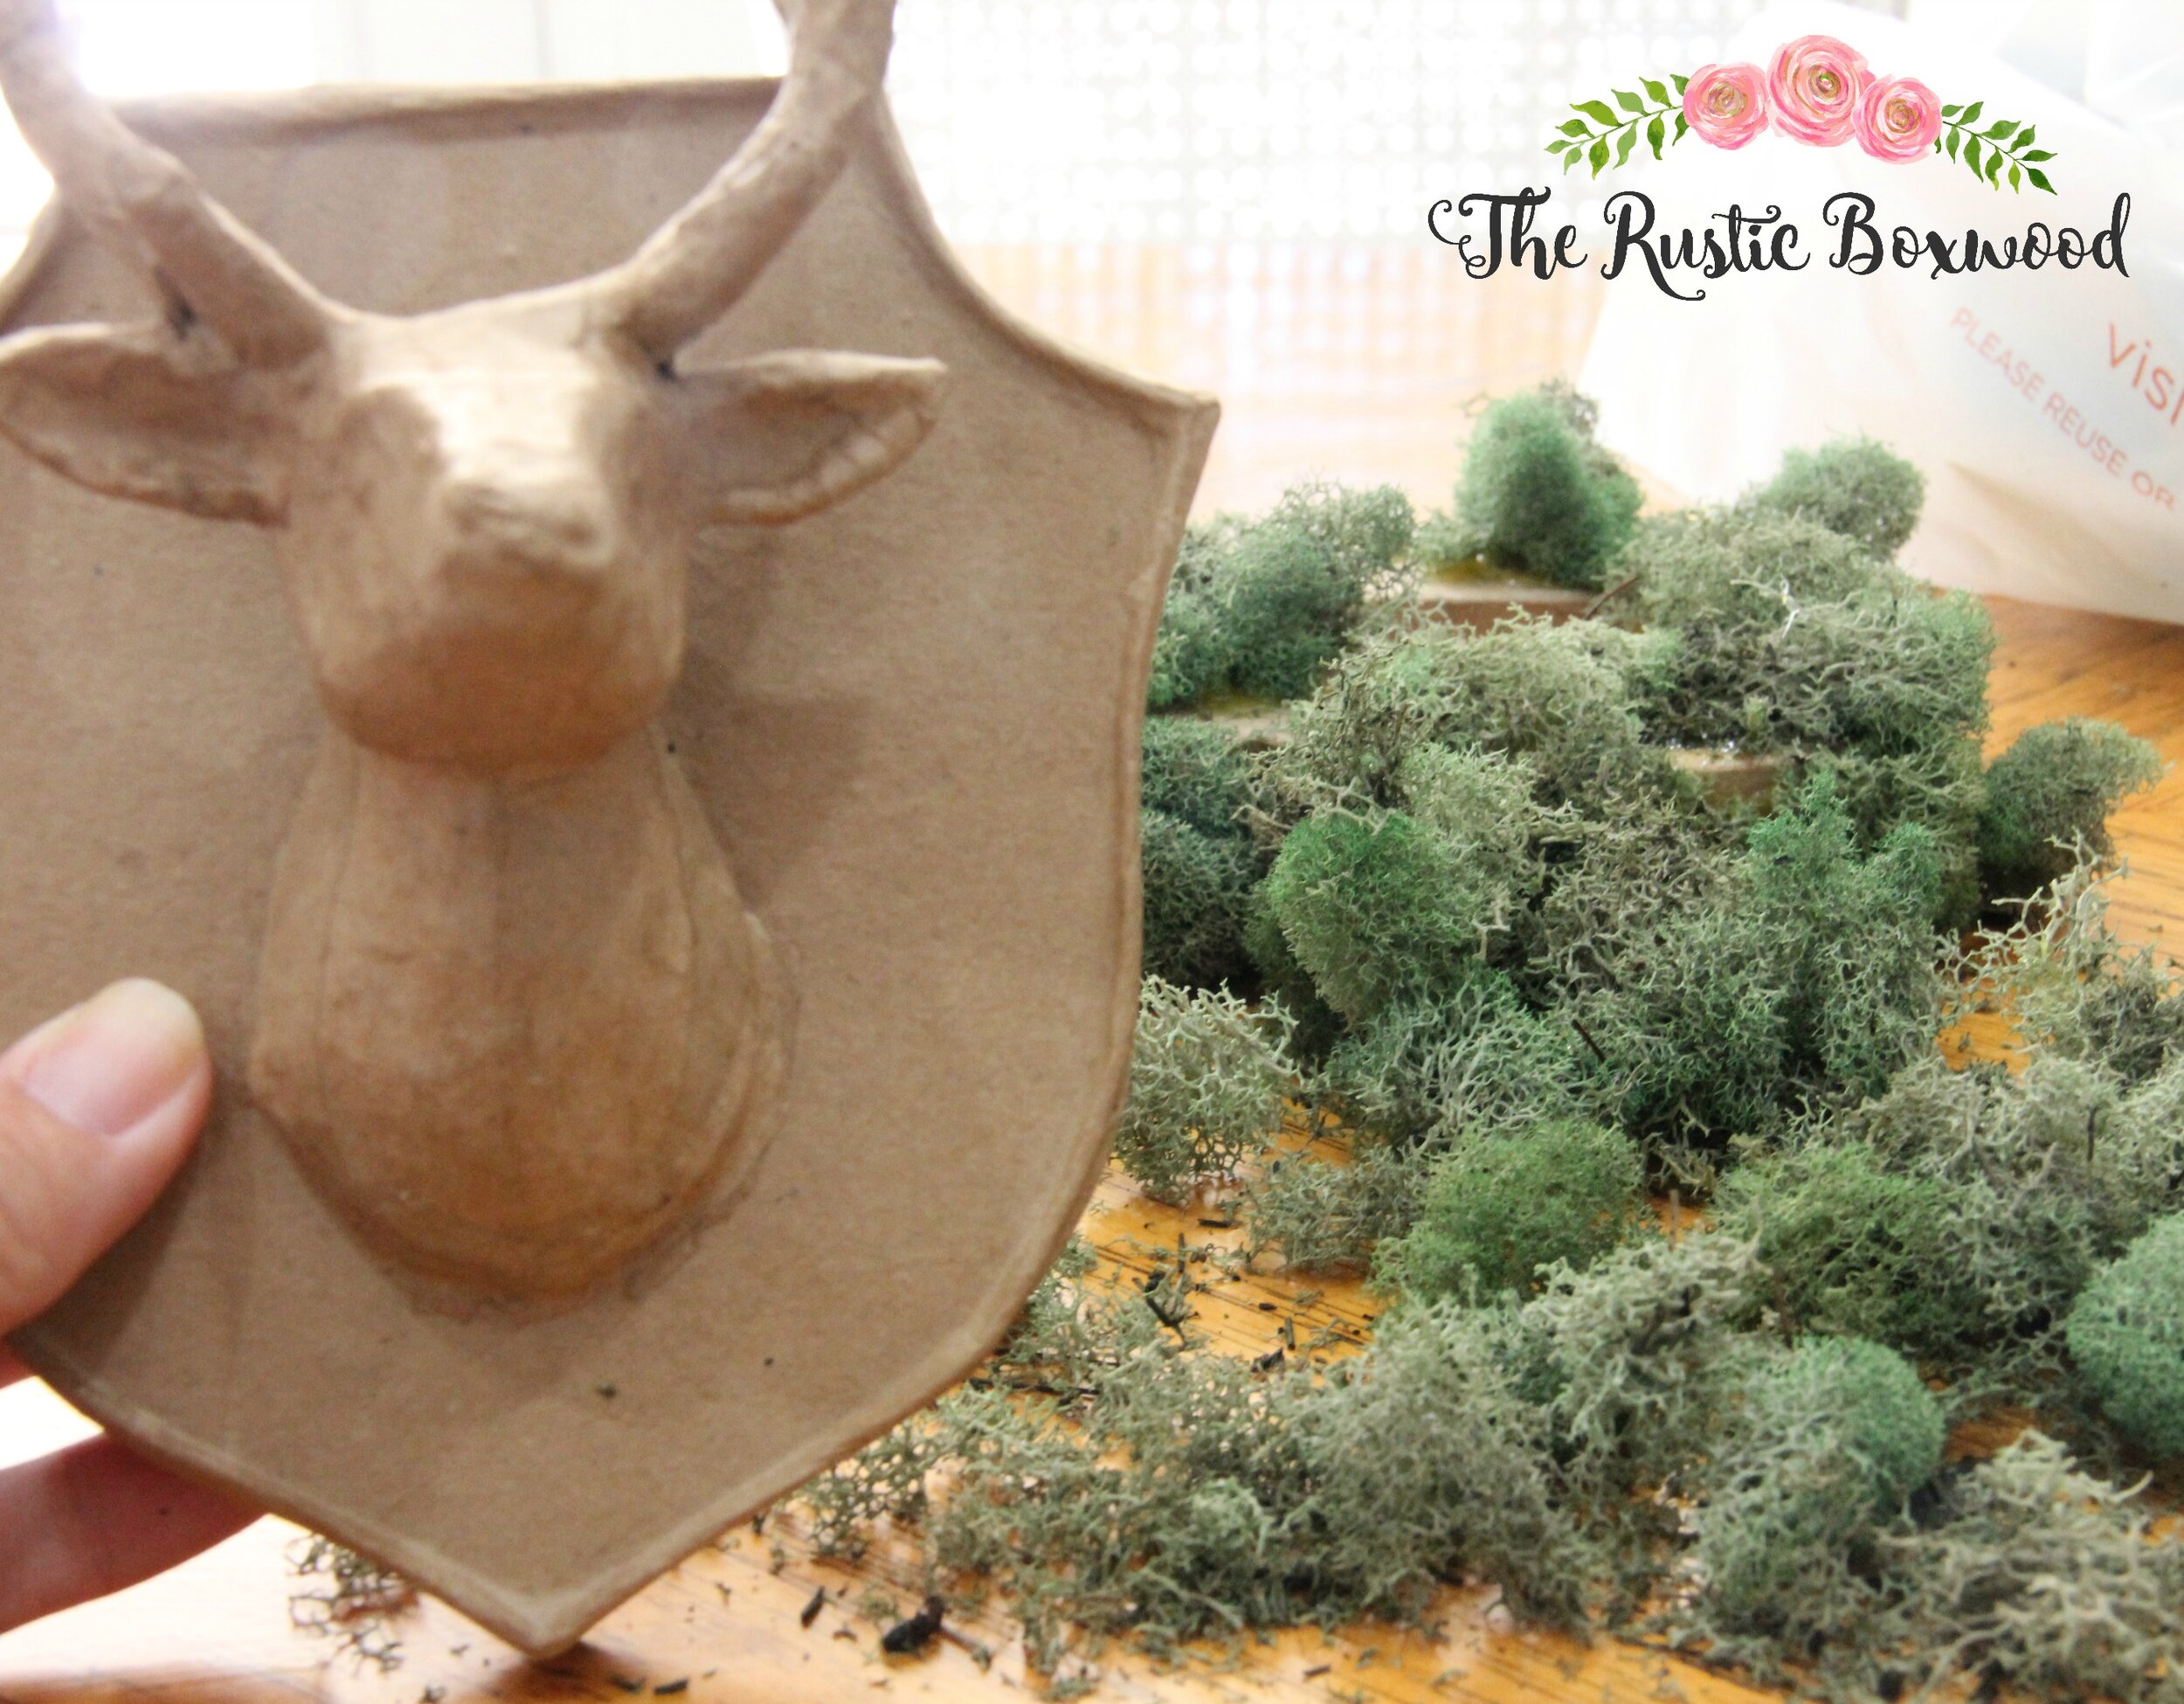
My local crafts' store was having a big sale on all their paper mache items, so of course, I had to purchase this item!
For this project, I used the "bushy" moss.
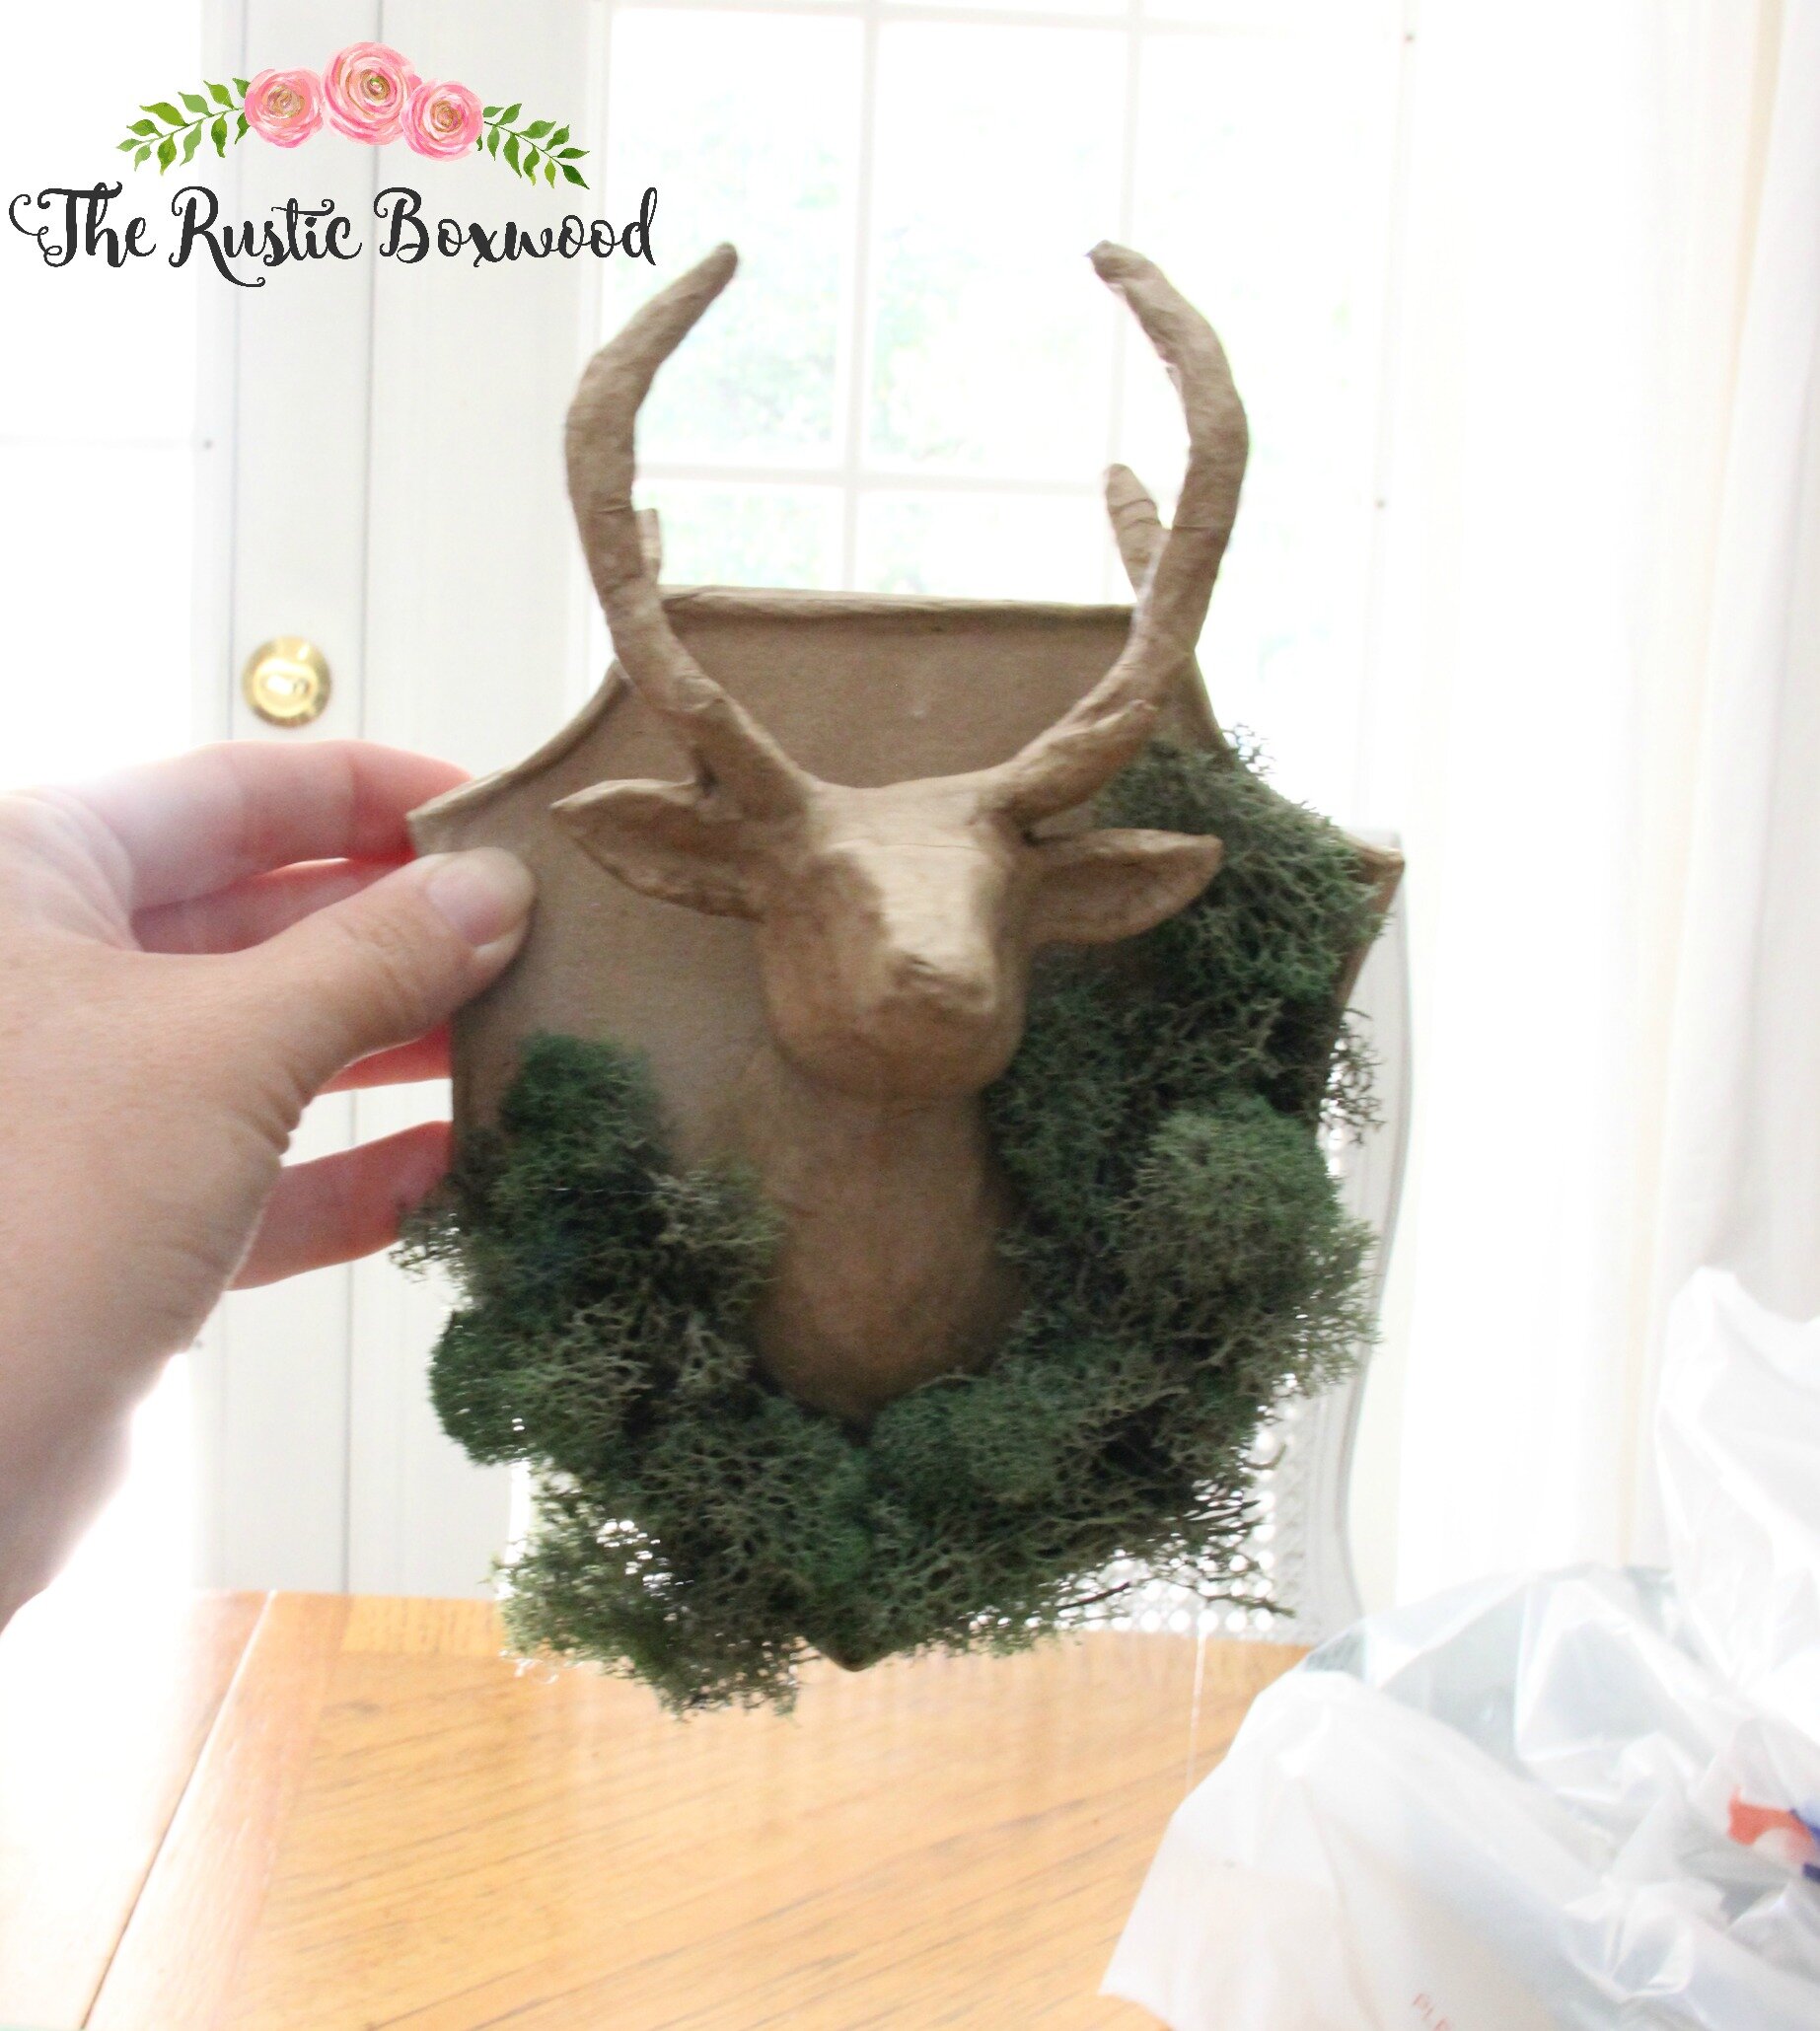
Just start hot-gluing the moss all over the base (i.e. all sides that are visible).
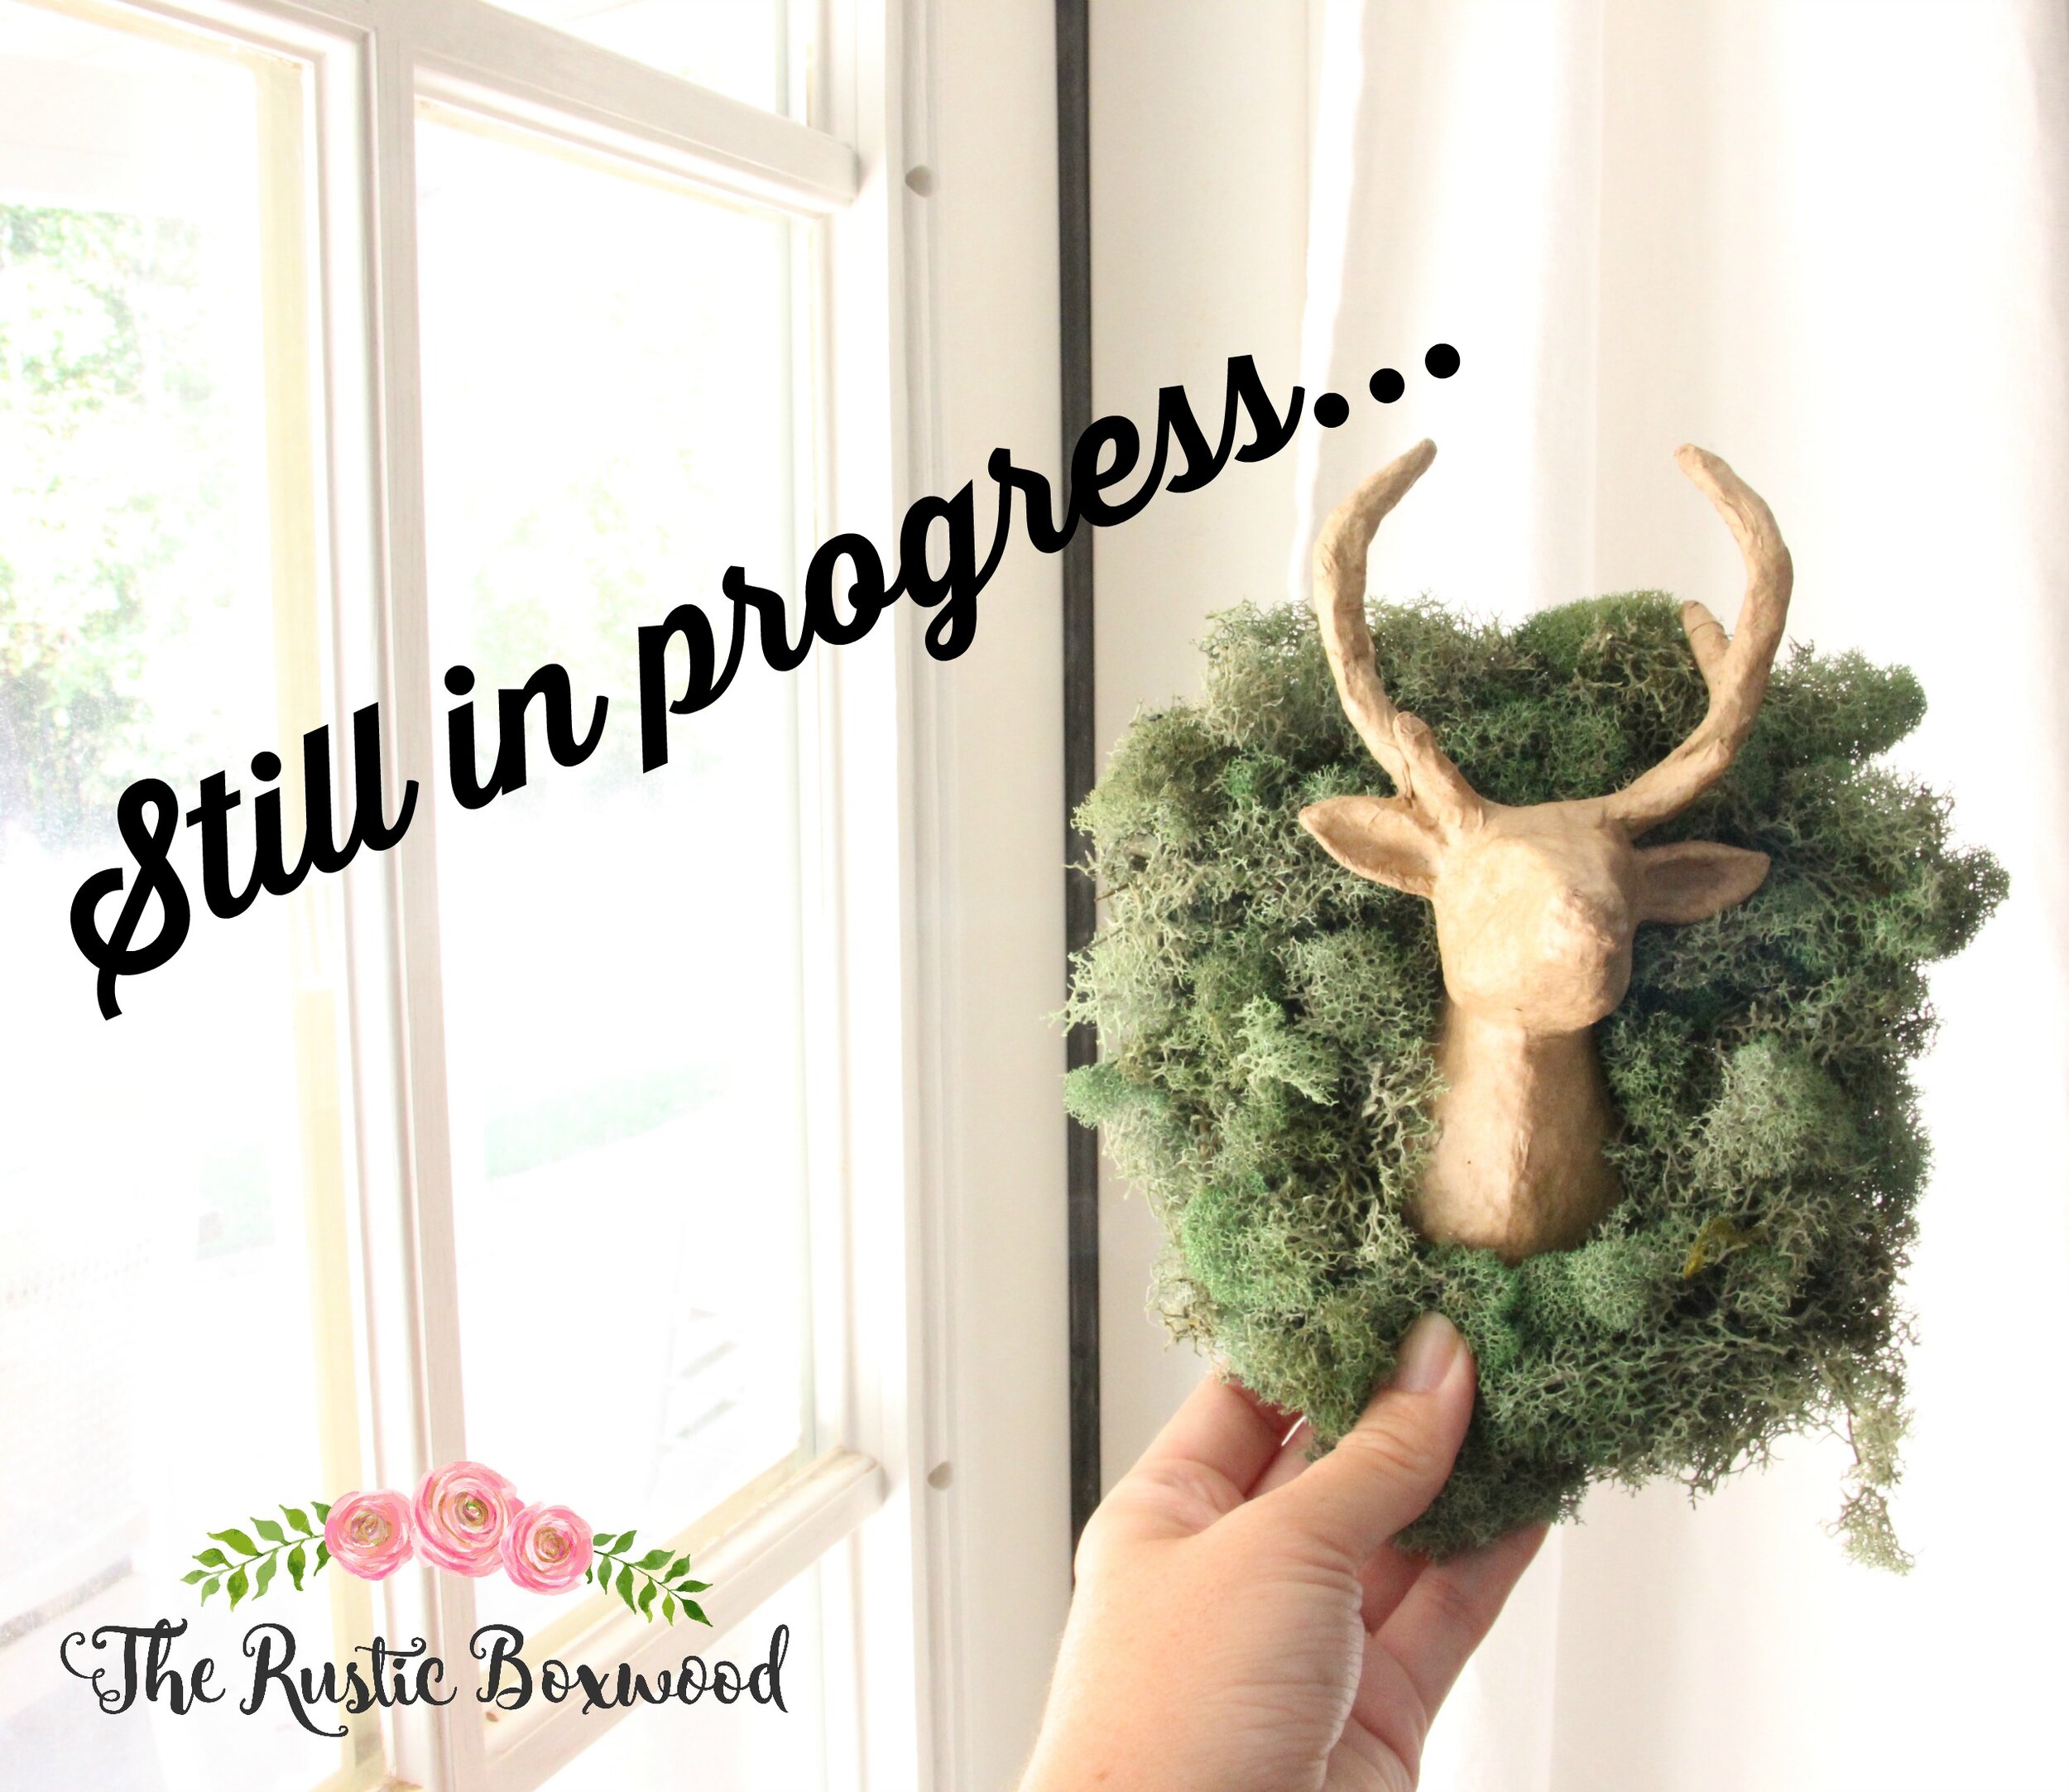
By this time, you've covered your entire surface (except the stag itself, of course)...but there's one more thing that needs to be done...
All it needs is a little patience while you trim all the loose edges and gently shapen the corners.
mosstaxidermy
Here it is all decked out in moss and ready to make a statement on your wall!
That's it! I hope you've been inspired to create something fun for your home! If you'd like to see the live video tutorial from this DIY, mossy letter project, please click here.
So, what do you think about these mossy decor projects? I'd love to hear about it! Comment below, or stop by and say hey on Instagram, Facebook and Pinterest! Thank you for all your love and support! I appreciate each of you!
You might also like:
